In Part 1, pfSense booted with a WAN side and a LAN side. In this part, I add the first internal Linux VM: a small Alpine jumpbox on the pfSense LAN.
This jumpbox becomes my first stable door into the lab. I use it for SSH, local forwarding, package installs, and later access to internal services without exposing those services directly.
What I Built
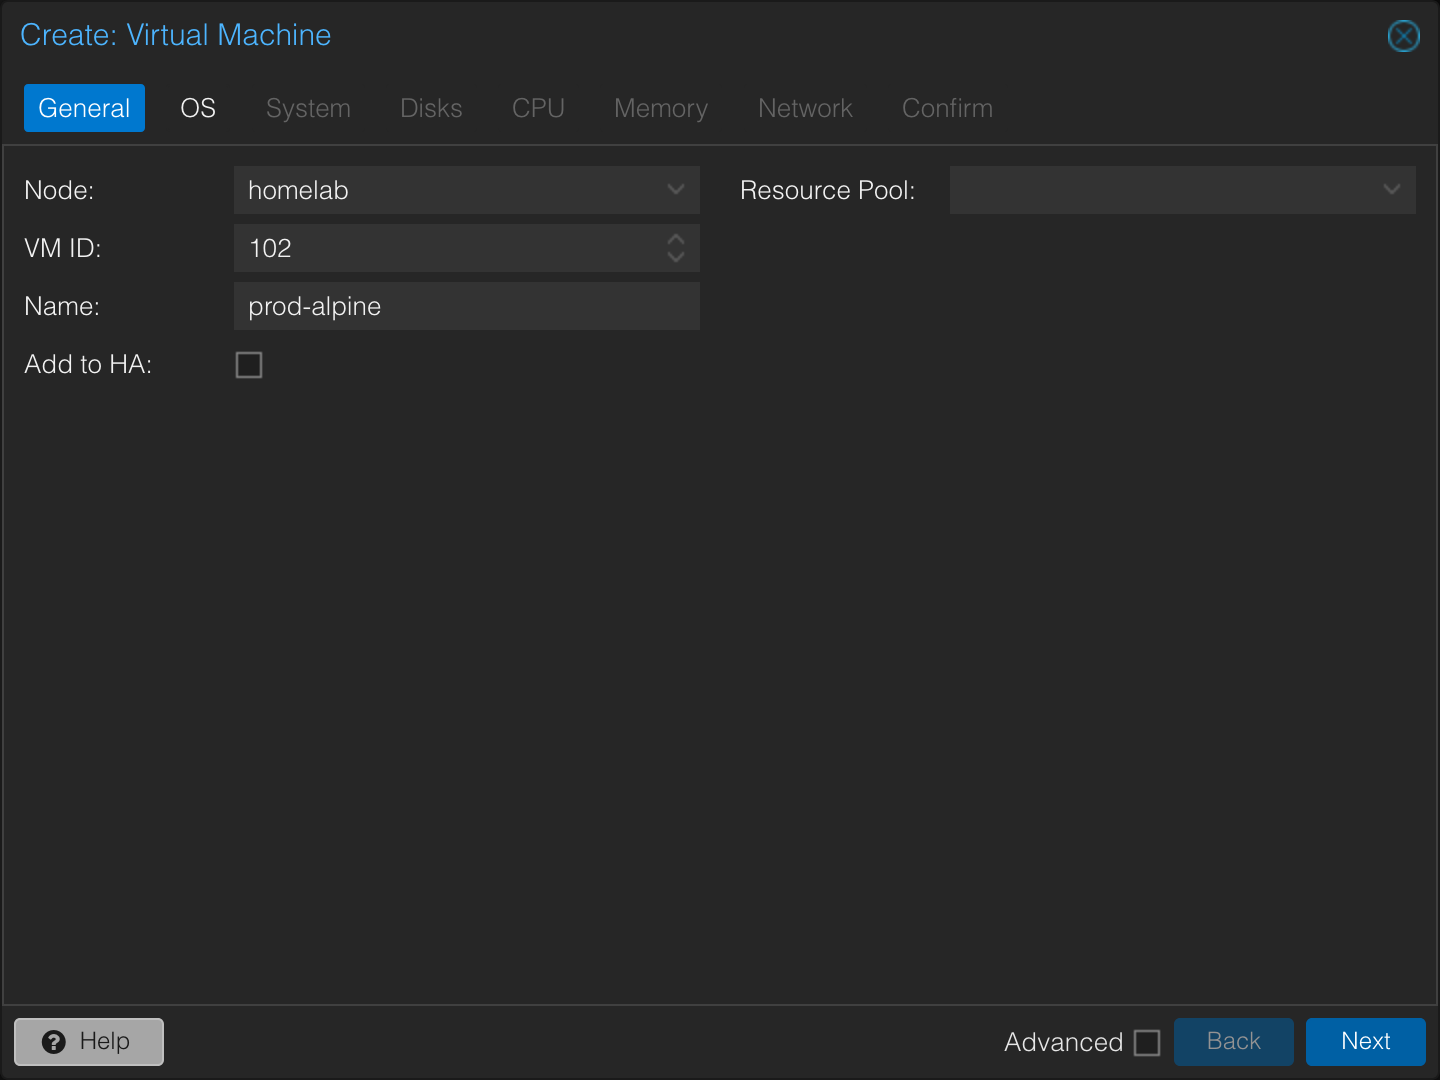
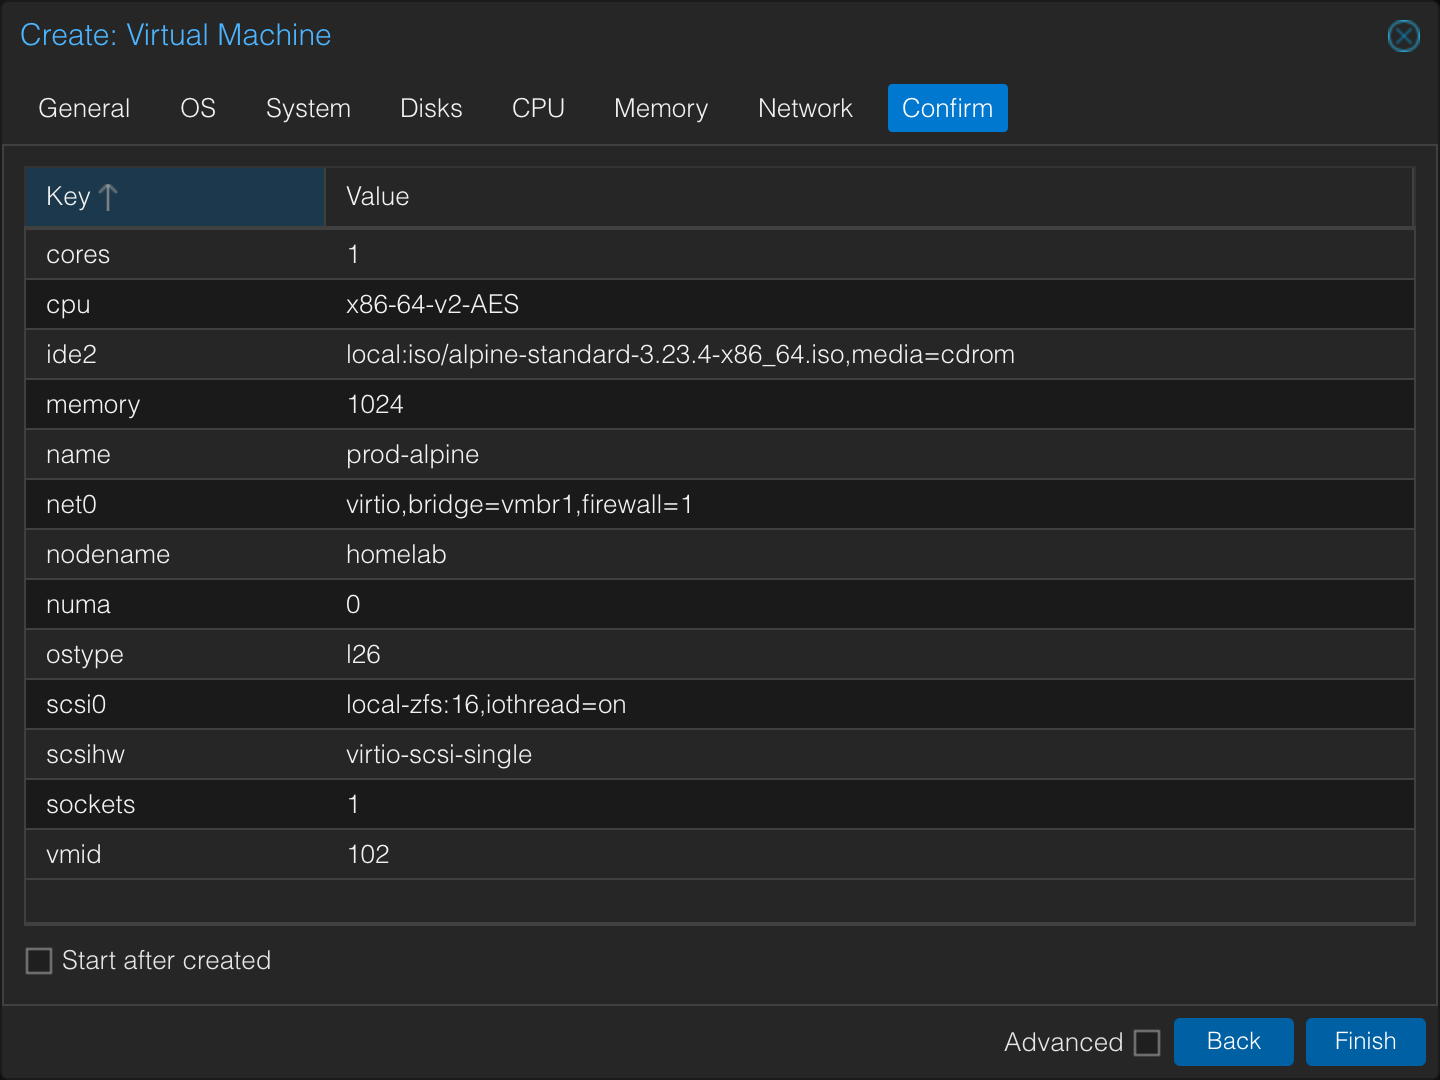
VM name:     prod-alpine
VM ID:       102
OS:          Alpine Linux
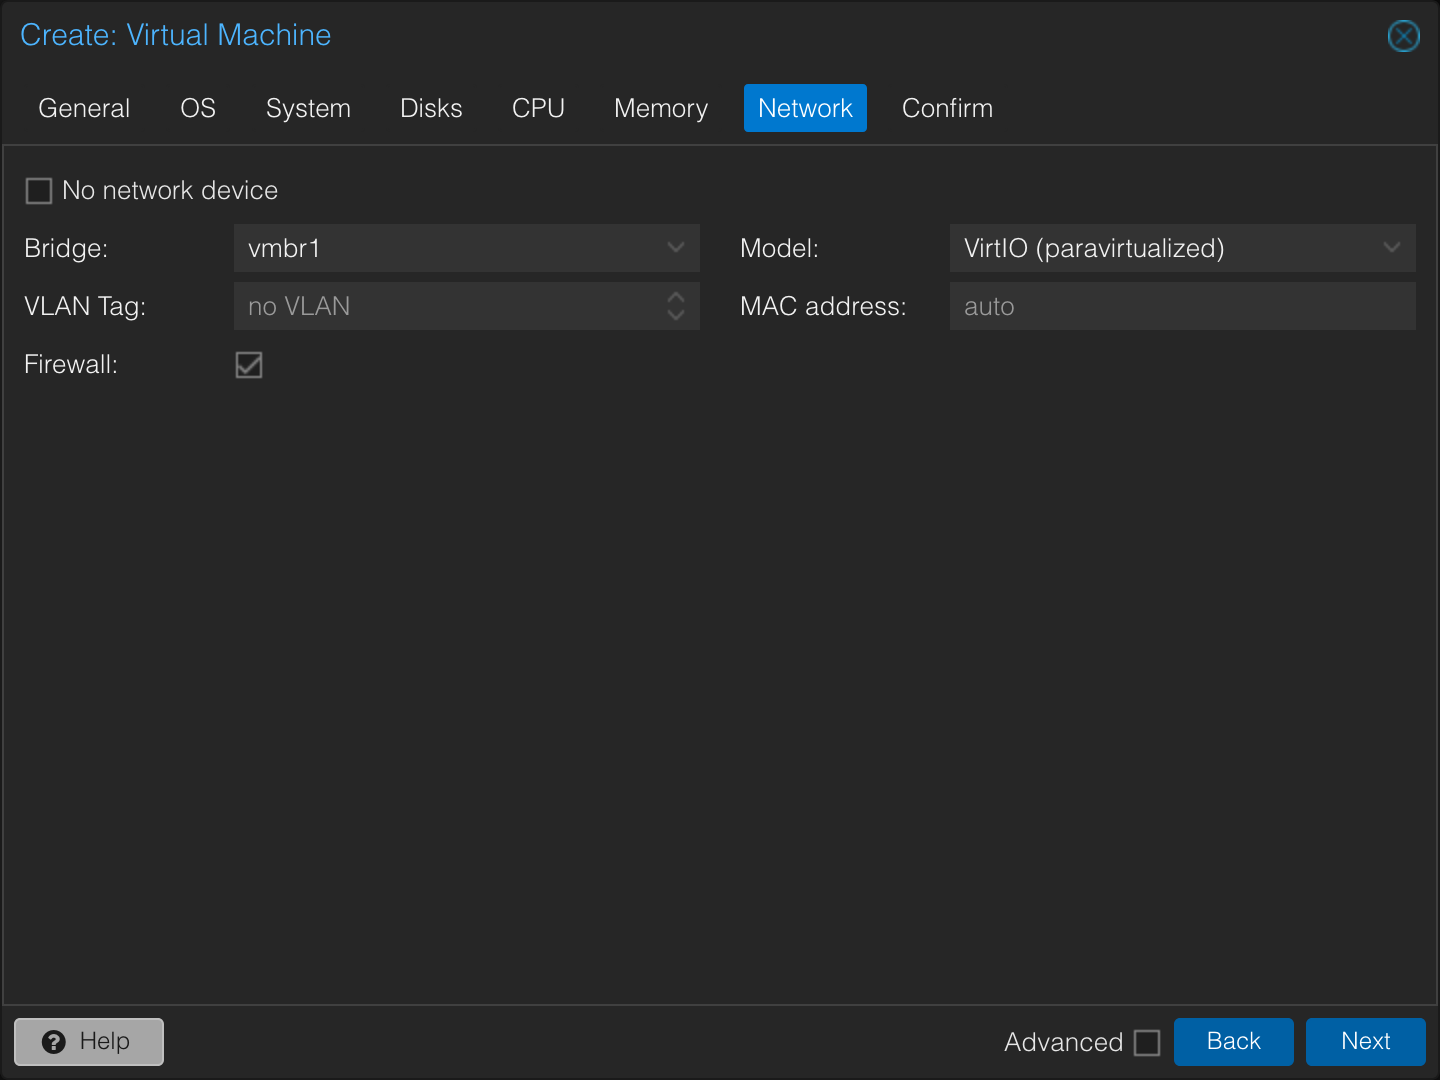
Network:     vmbr1
IP:          10.10.1.50/24
Gateway:     10.10.1.1
Role:        jumpbox / bastion
Why This Matters
The jumpbox gives the lab a controlled management path. Instead of opening every internal service to my laptop, I connect to one small Linux machine and forward only the service I need.
That pattern becomes useful later for:
- pfSense web access;
- Portainer and Wazuh dashboards;
- internal Linux administration;
- keeping management access predictable while firewall rules evolve.
Topology Slice
Laptop
  |
home LAN / upstream router
  |
pfSense WAN
pfSense LAN 10.10.1.1
  |
Alpine jumpbox 10.10.1.50
Build Steps
Install Alpine
The installer starts from the live ISO:
setup-alpine
I kept the VM small:
CPU:      1 core
RAM:      1 GB
Disk:     16 GB
Bridge:   vmbr1
Fix APK and Disk Setup
The installer hit DNS and repository problems during mirror selection and disk setup. Instead of fighting the wizard, I fixed the repositories directly.
ip link set eth0 up
setup-apkrepos
apk update
setup-disk -m sys /dev/sda
After reboot, I brought the interface up and requested a new DHCP lease:
ip link set eth0 up
udhcpc -i eth0
ip a
Expected result:
eth0 -> 10.10.1.50/24
gateway -> 10.10.1.1
Install Base Tools
apk add openssh sudo nano tmux curl
apk upgrade
rc-update add sshd
service sshd start
Create a non-root admin user:
adduser admin
addgroup admin wheel
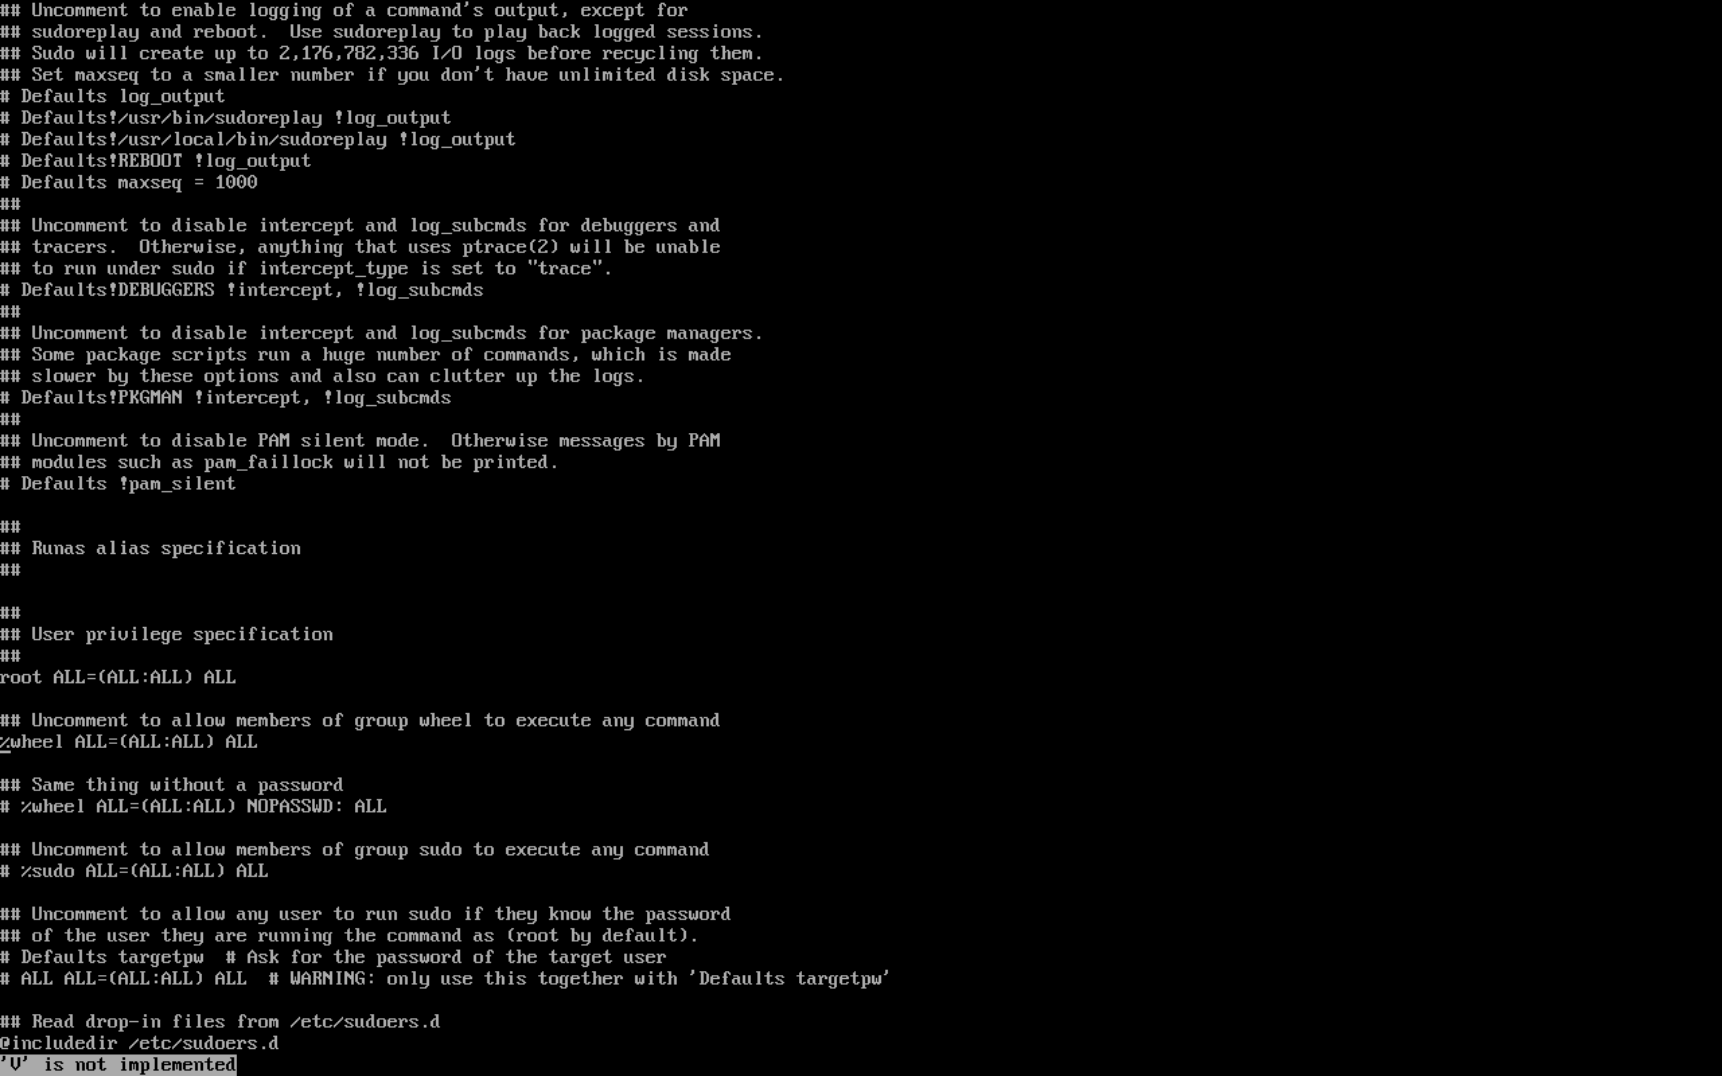
visudo
In visudo, enable:
%wheel ALL=(ALL) ALL
Validate:
ssh admin@10.10.1.50
sudo whoami
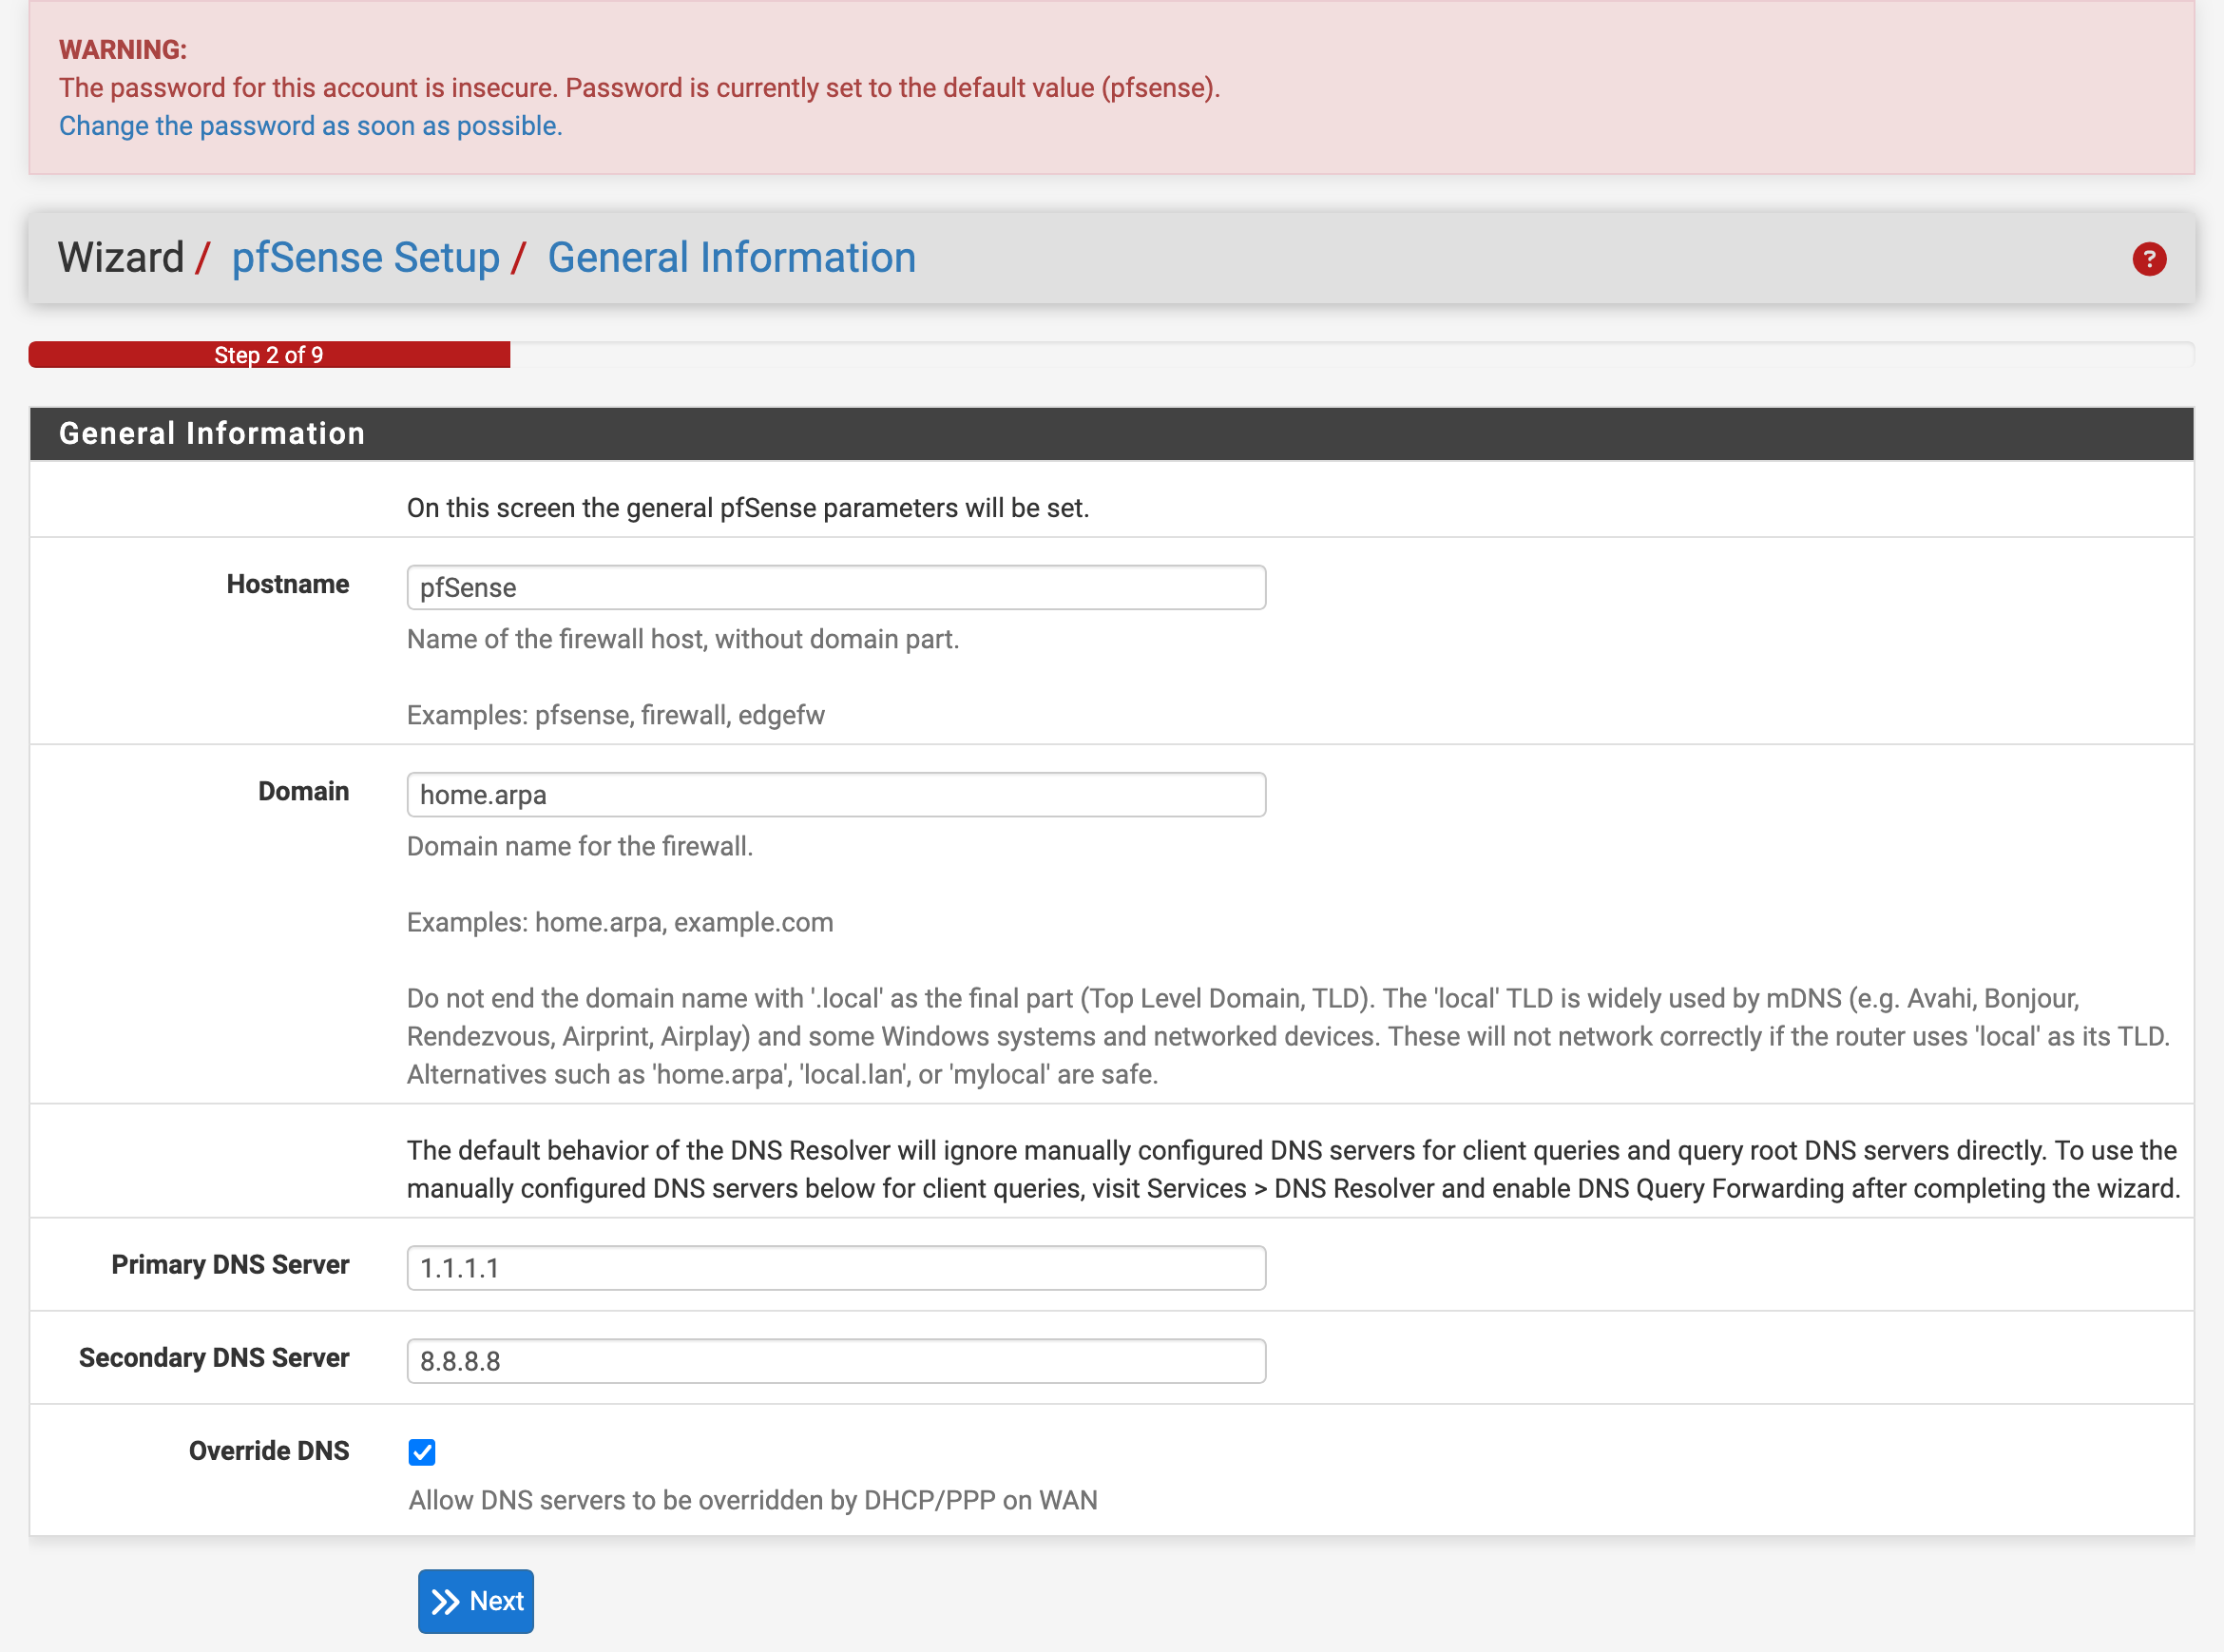
Enable pfSense LAN DHCP
From the pfSense console, I configured the LAN side:
LAN IP:              10.10.1.1
Subnet bit count:    24
Upstream gateway:    empty
DHCP server on LAN:  yes
DHCP range start:    10.10.1.100
DHCP range end:      10.10.1.200
Web configurator:    HTTP for first access
The key detail is simple but important: 10.10.1.1 is the firewall’s host IP. 10.10.1.0/24 is the network address, so it must not be assigned to pfSense.
Getting Into pfSense Web UI
This was my first real troubleshooting chain in the lab. My laptop was on 192.168.1.0/24, but the pfSense LAN was 10.10.1.0/24. Nothing worked until I fixed all four layers.
1. Add a Route from macOS
sudo route -n add -net 10.10.1.0/24 192.168.1.87
192.168.1.87 was the pfSense WAN address in my lab.
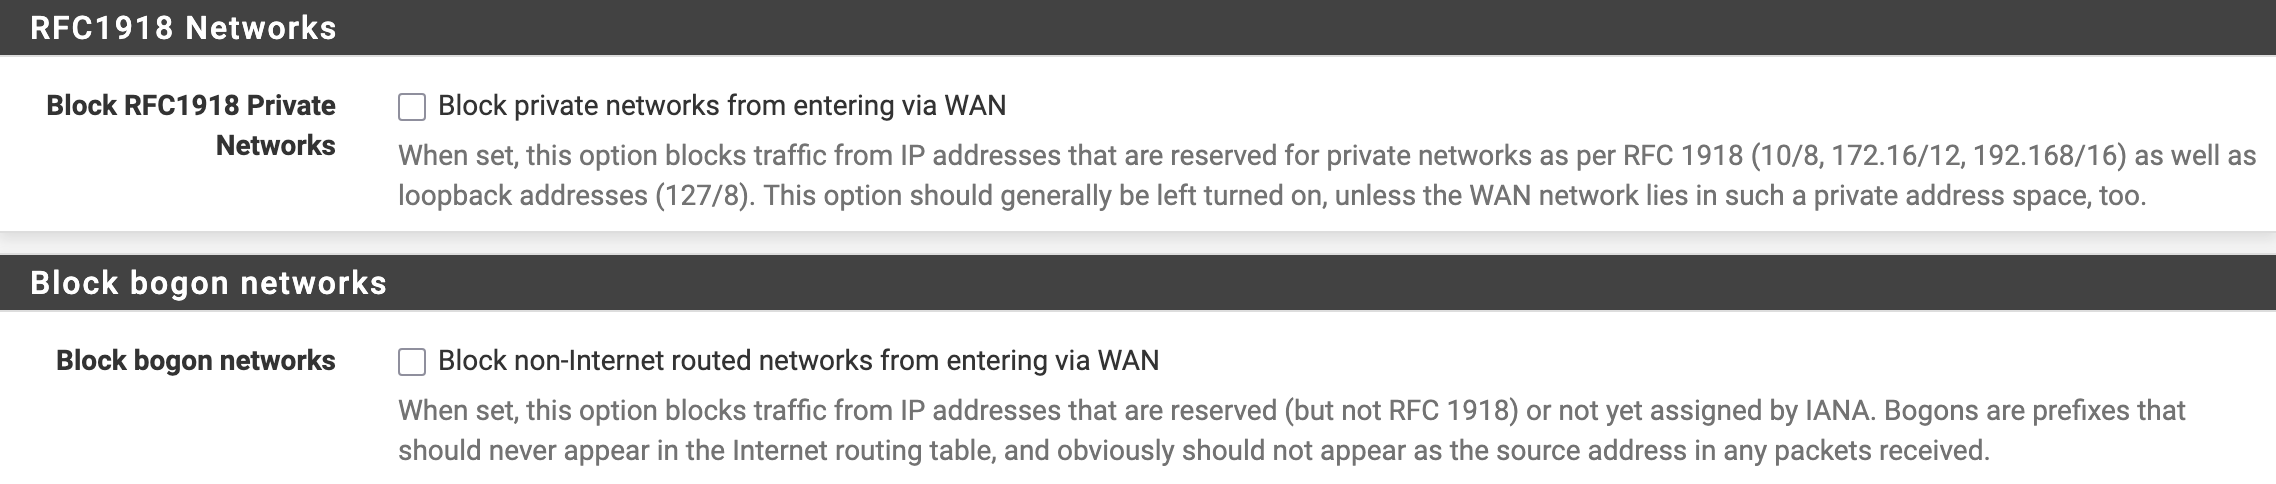
2. Disable WAN Private/Bogon Blocking
pfSense assumes WAN is the internet. In my lab, WAN is also private RFC1918 space, so the default private and bogon block settings broke access.
From pfSense shell:
sed -i '' 's|<blockpriv>1</blockpriv>|<blockpriv>0</blockpriv>|' /conf/config.xml
sed -i '' 's|<blockbogons>1</blockbogons>|<blockbogons>0</blockbogons>|' /conf/config.xml
/etc/rc.filter_configure
3. Add a Temporary WAN Pass Rule
echo "pass in quick on vtnet0 from any to any" | pfctl -f -
This rule is temporary. It disappears on firewall reload, so I used it only as a short bridge to reach the GUI.
4. Allow SSH Forwarding on Alpine
If SSH forwarding fails with administratively prohibited, enable forwarding:
AllowTcpForwarding yes
GatewayPorts yes
Then:
service sshd restart
Working Tunnel
ssh -L 8080:10.10.1.1:80 admin@10.10.1.50
Browser:
http://localhost:8080


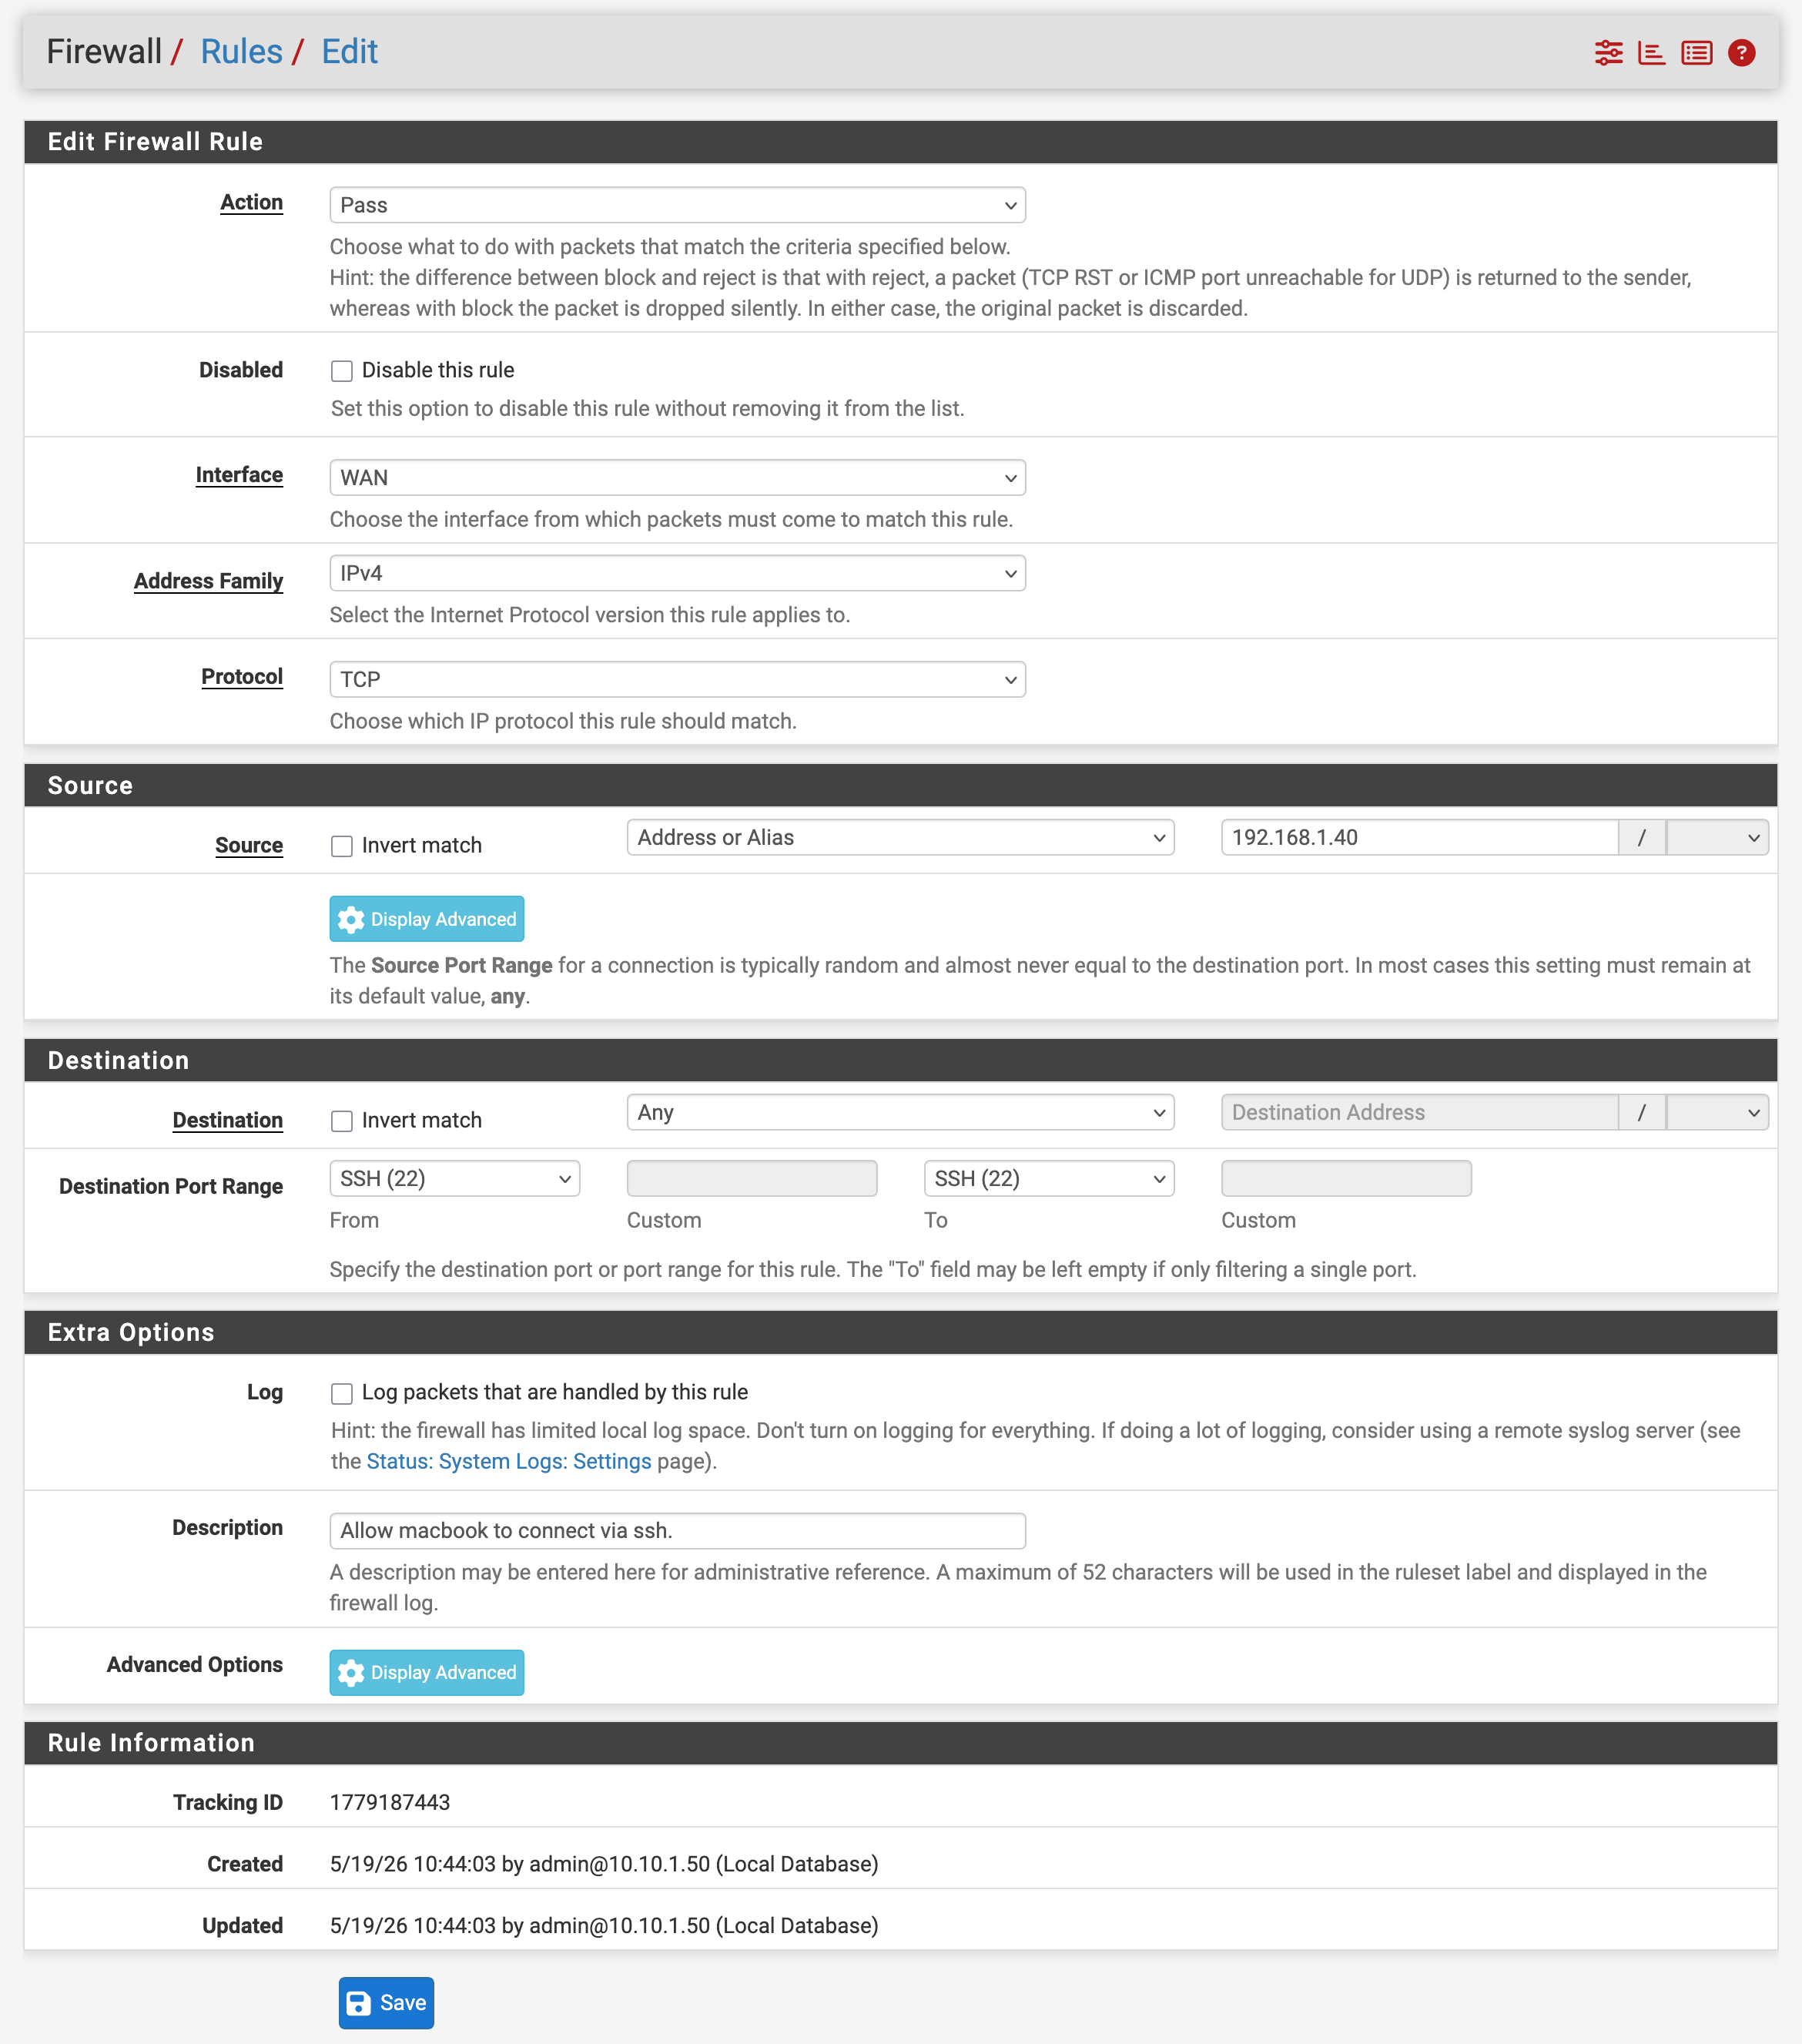
After I reached the GUI, I replaced the temporary pfctl rule with a permanent WAN SSH allow rule for my laptop IP.
Problems I Hit
Alpine DNS failed during setup. The installer changed resolver and repository files. I skipped the broken mirror step and fixed repositories after boot.
setup-disk could not find syslinux. The APK repository was not properly configured. setup-apkrepos plus apk update fixed it.
pfSense GUI timed out. The route, WAN private block, firewall rule, and SSH forwarding policy all had to be correct. The timeout did not tell me which layer was wrong.
SSH forwarding policy can block the tunnel. If SSH returns administratively prohibited, the issue is usually Alpine sshd_config, not pfSense. AllowTcpForwarding yes fixed it.
What I Learned
The jumpbox is not only a convenience. It is a repeatable access pattern: expose one narrow SSH path, then tunnel to internal systems only when needed.
I also learned to troubleshoot reachability in layers. When the symptom is only “timeout,” I check routing, firewall flags, firewall rules, and SSH forwarding separately instead of guessing.
Validation Evidence
ssh admin@10.10.1.50
sudo whoami
ip a
ping -c 2 10.10.1.1
Tunnel validation:
ssh -L 8080:10.10.1.1:80 admin@10.10.1.50
Expected browser result:
http://localhost:8080 -> pfSense GUI
What This Enables Next
Now that pfSense is reachable from the GUI and Alpine is a stable internal access point, I can define the lab VLANs and start placing machines into purpose-built segments.
Quick Reference
setup-alpine
setup-apkrepos
apk update
apk add openssh sudo nano tmux curl
rc-update add sshd
service sshd start
ssh -L 8080:10.10.1.1:80 admin@10.10.1.50
echo "pass in quick on vtnet0 from any to any" | pfctl -f -