In Part 8, I solved remote access with Tailscale. In this part, I build the malware-analysis segment.
This segment has a different philosophy from the rest of the lab. I do not want broad monitoring or domain integration here. I want controlled detonation, local observation, fake internet, and clean snapshots.
What I Built
Segment:     isolated malware-analysis
Network:     vmbr99 / VLAN 99 design
FLARE-VM:    10.10.99.20
REMnux:      10.10.99.10
Internet:    no final direct path
SIEM agent:  no
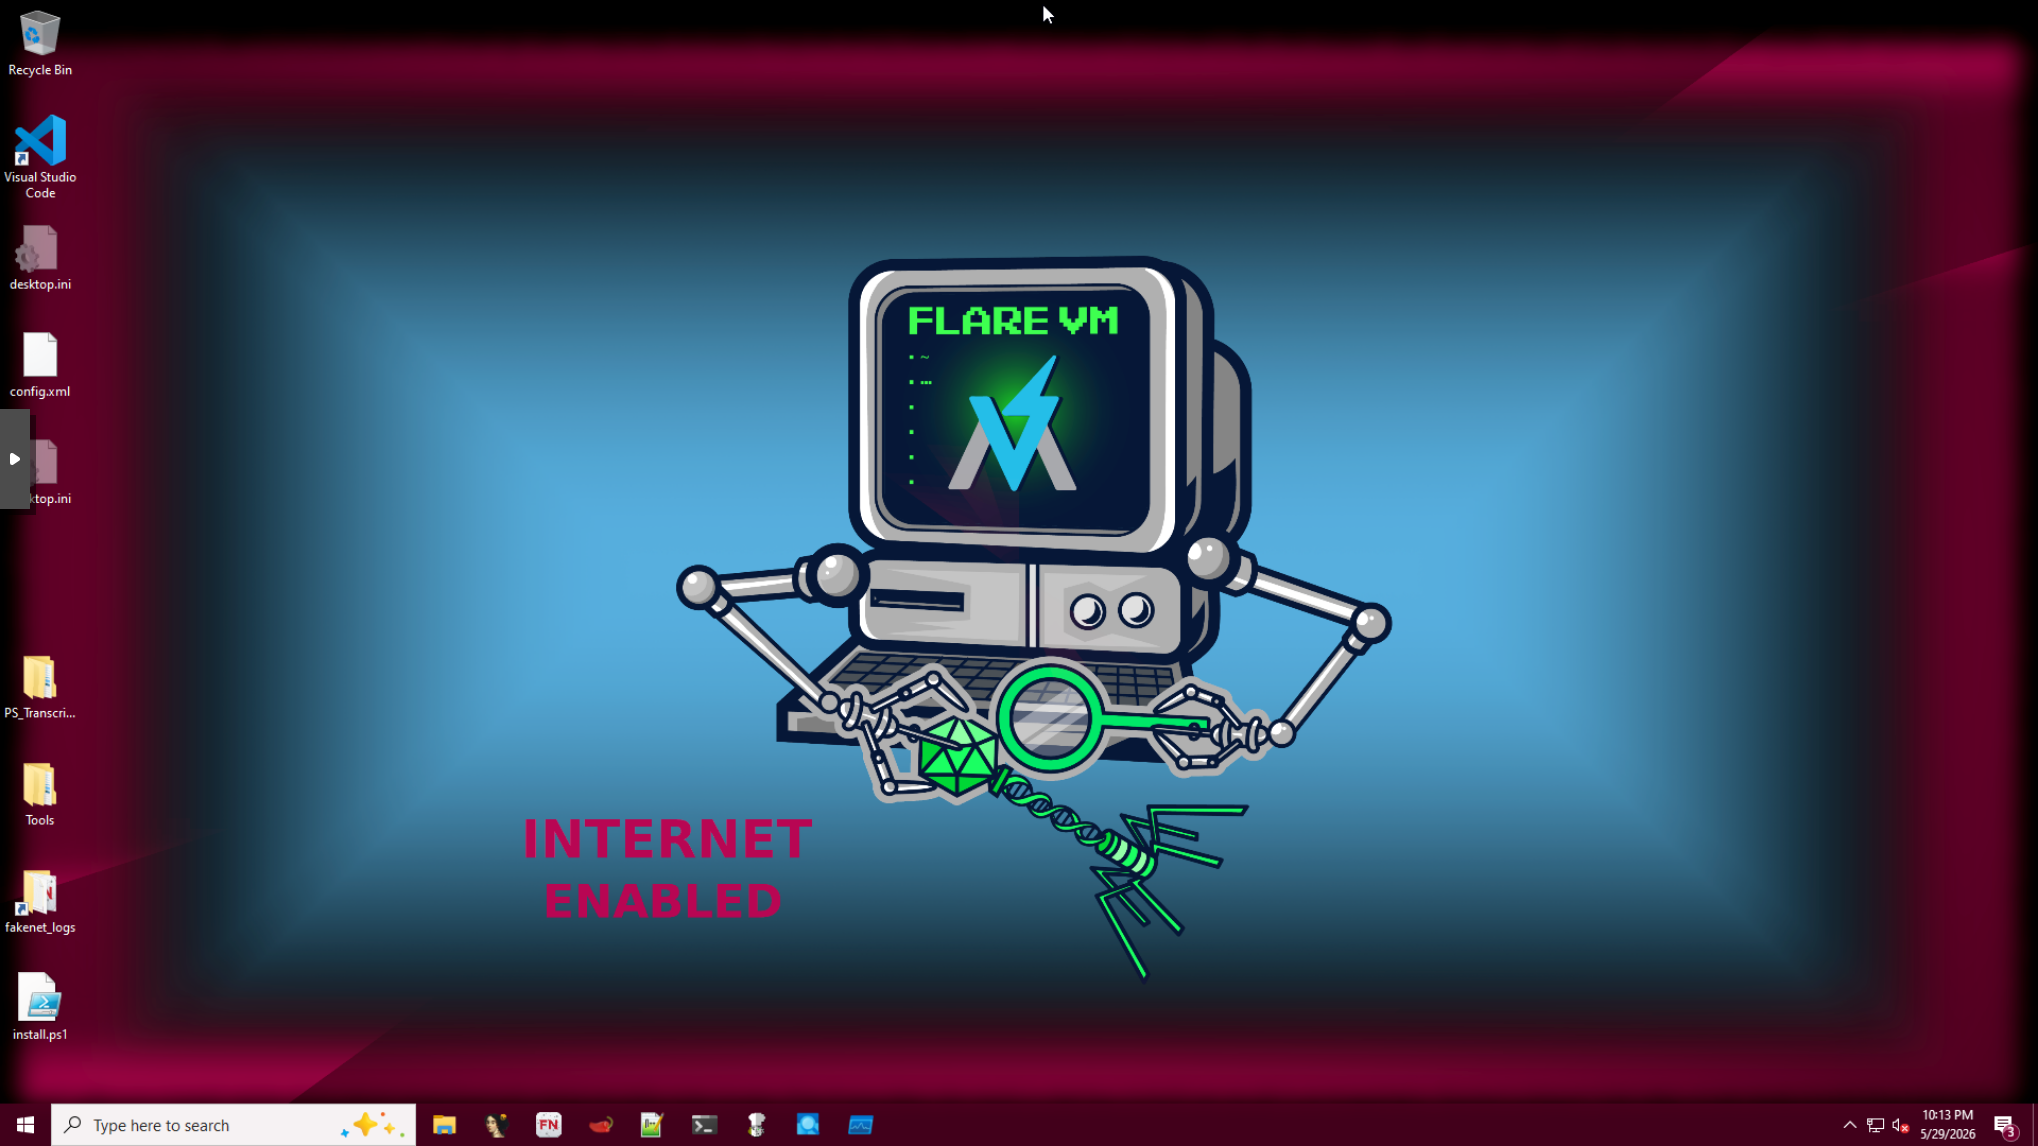
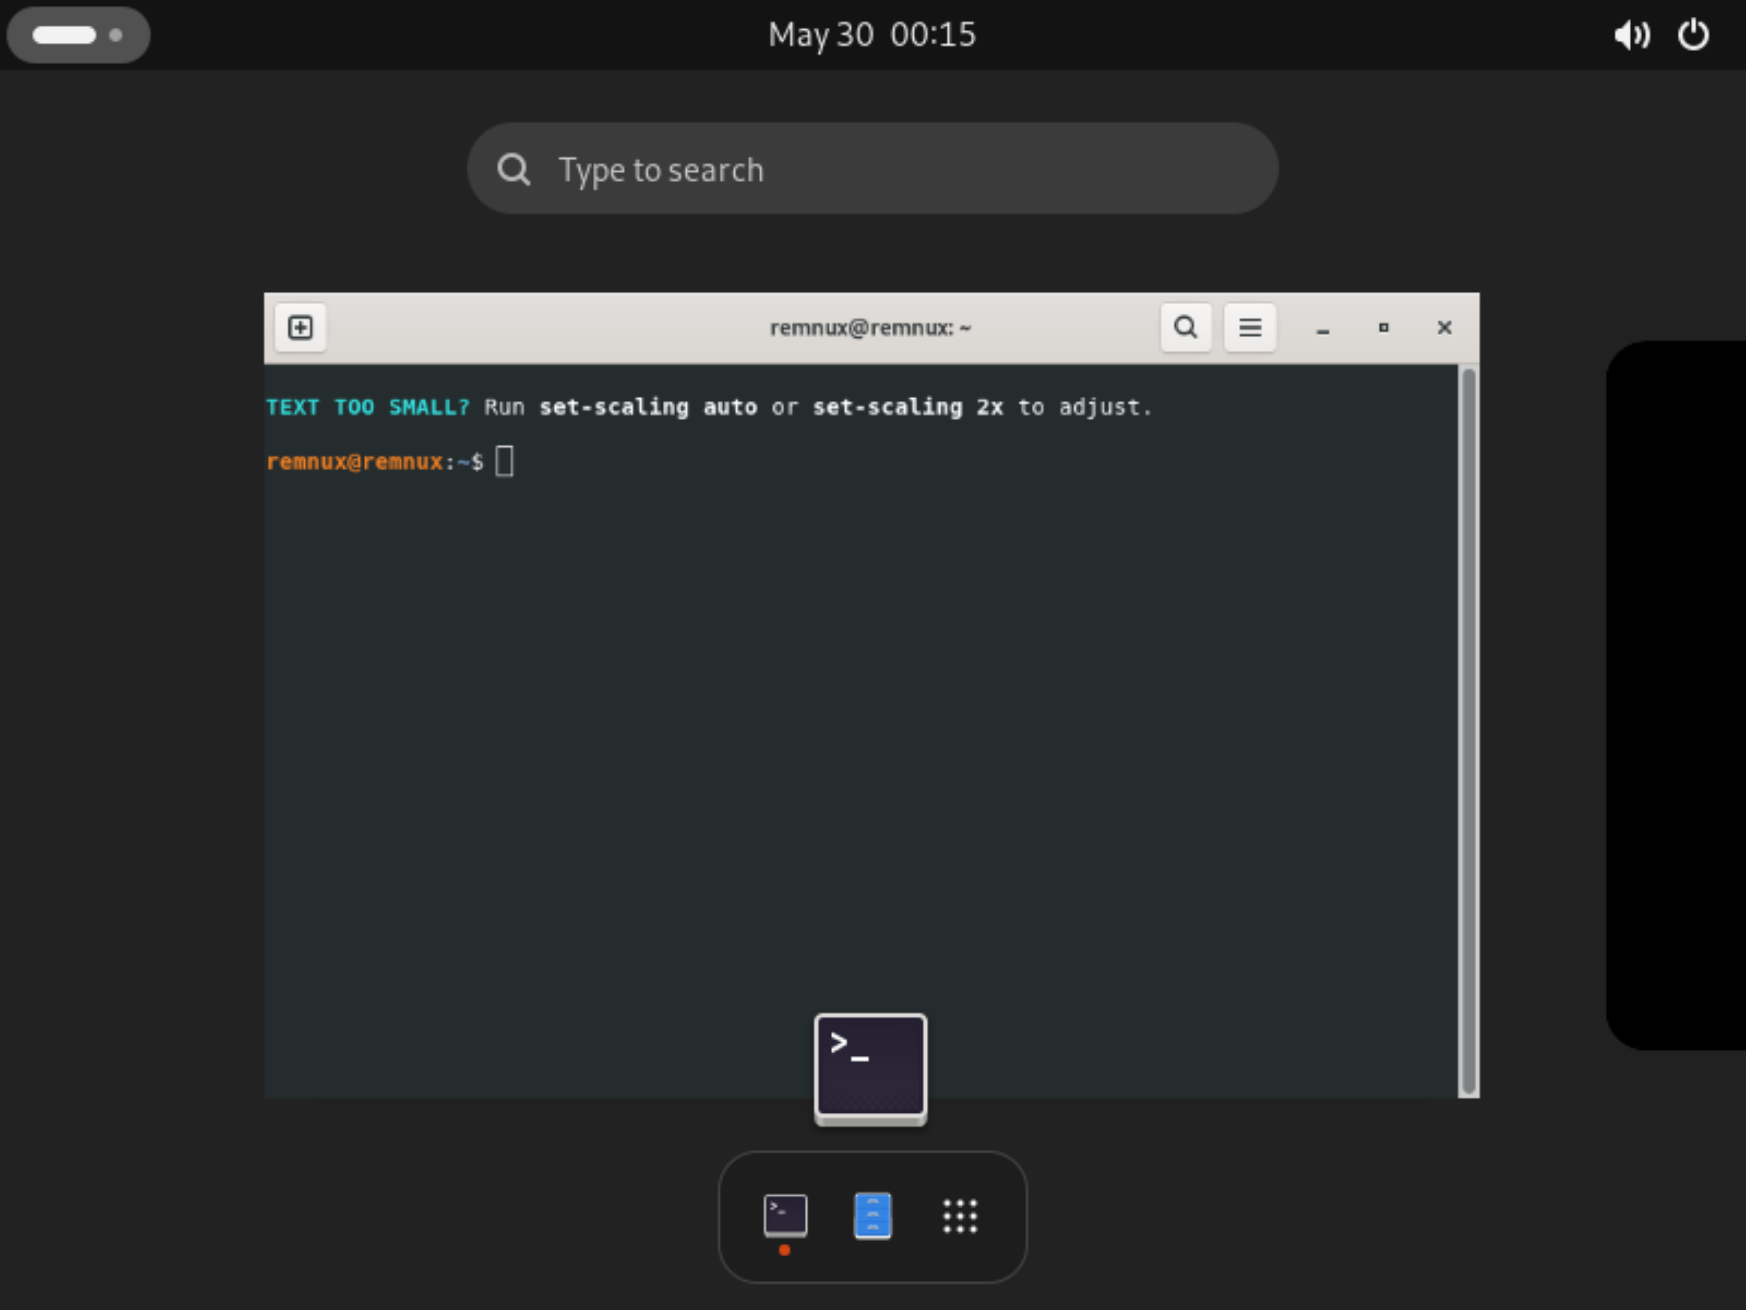
Status:      FLARE installed, REMnux imported and booted, INetSim validation pending
Why This Matters
Malware analysis needs a hard boundary. I do not want a sample to reach the real internet, the Windows domain, or the SIEM network by accident.
The intended behavior is:
FLARE-VM -> REMnux: allowed
FLARE-VM -> real internet: blocked
REMnux -> real internet: blocked in final state
FLARE-VM -> Wazuh/domain/lab VLANs: blocked
REMnux provides fake services through tools like INetSim, so samples can make DNS and HTTP requests without those requests leaving the lab.
Topology Slice
FLARE-VM 10.10.99.20
        |
        | DNS / HTTP / fake internet
        v
REMnux 10.10.99.10
        |
   no real default route in final state
Build Steps
Build FLARE-VM
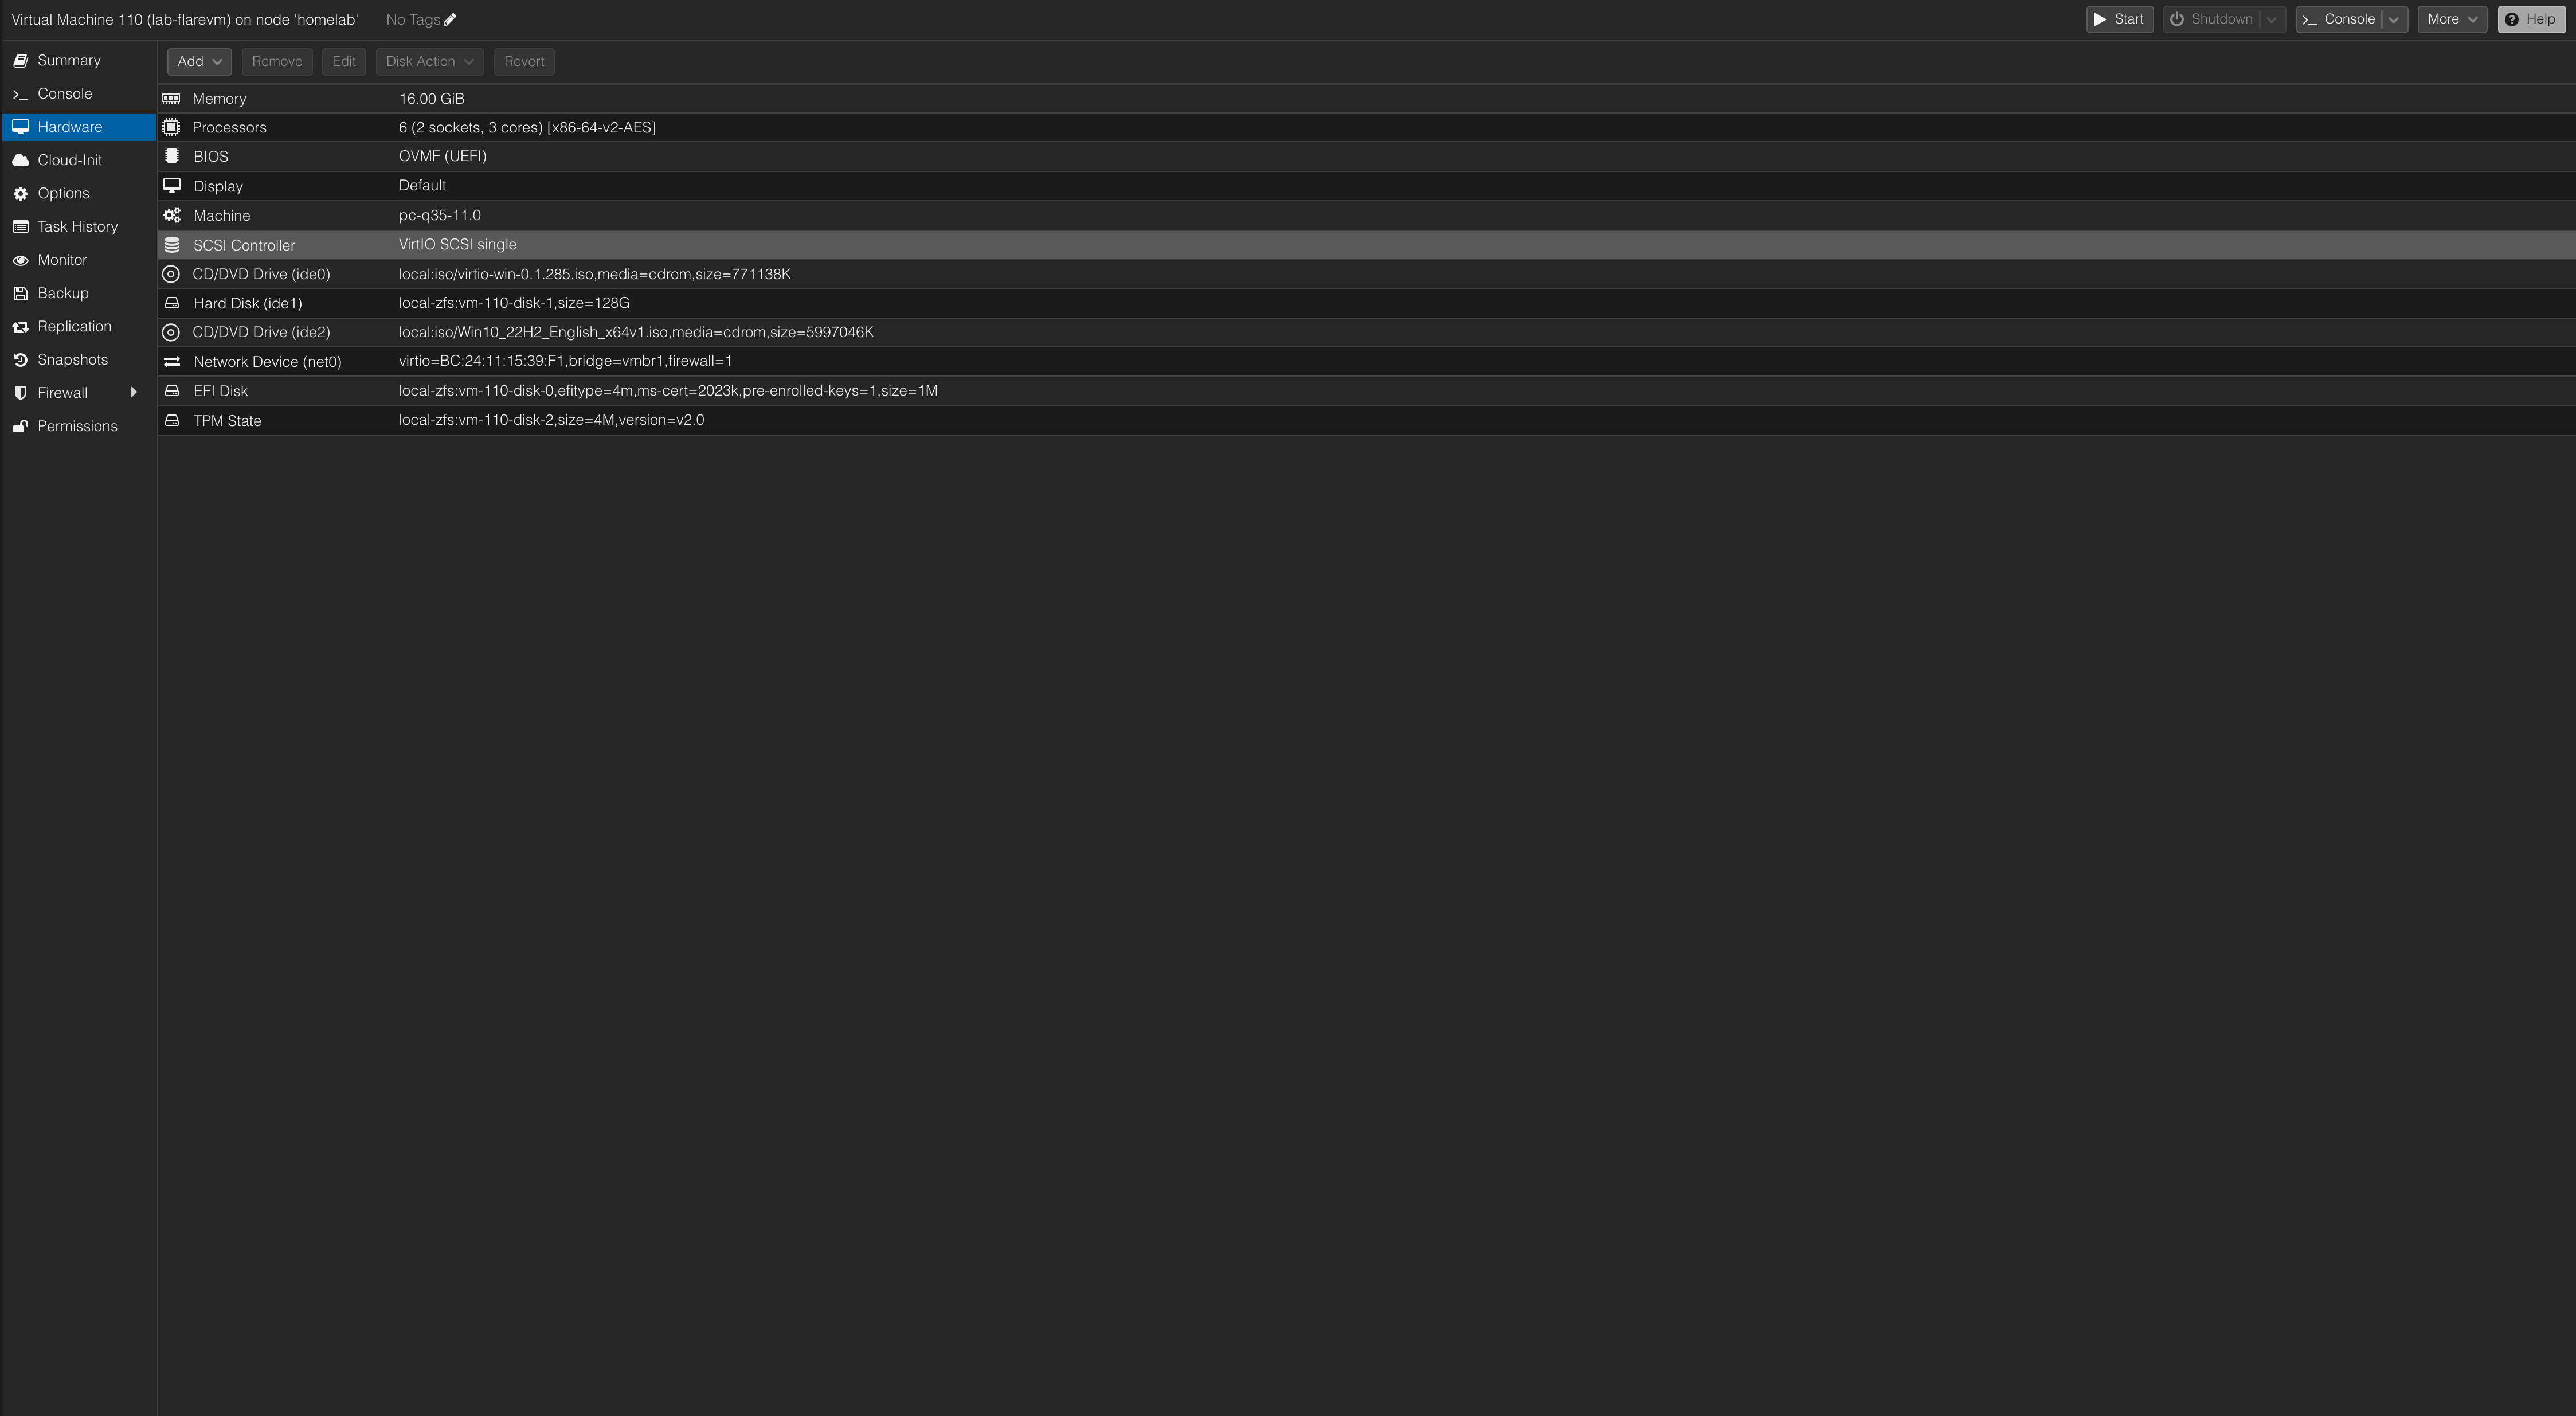
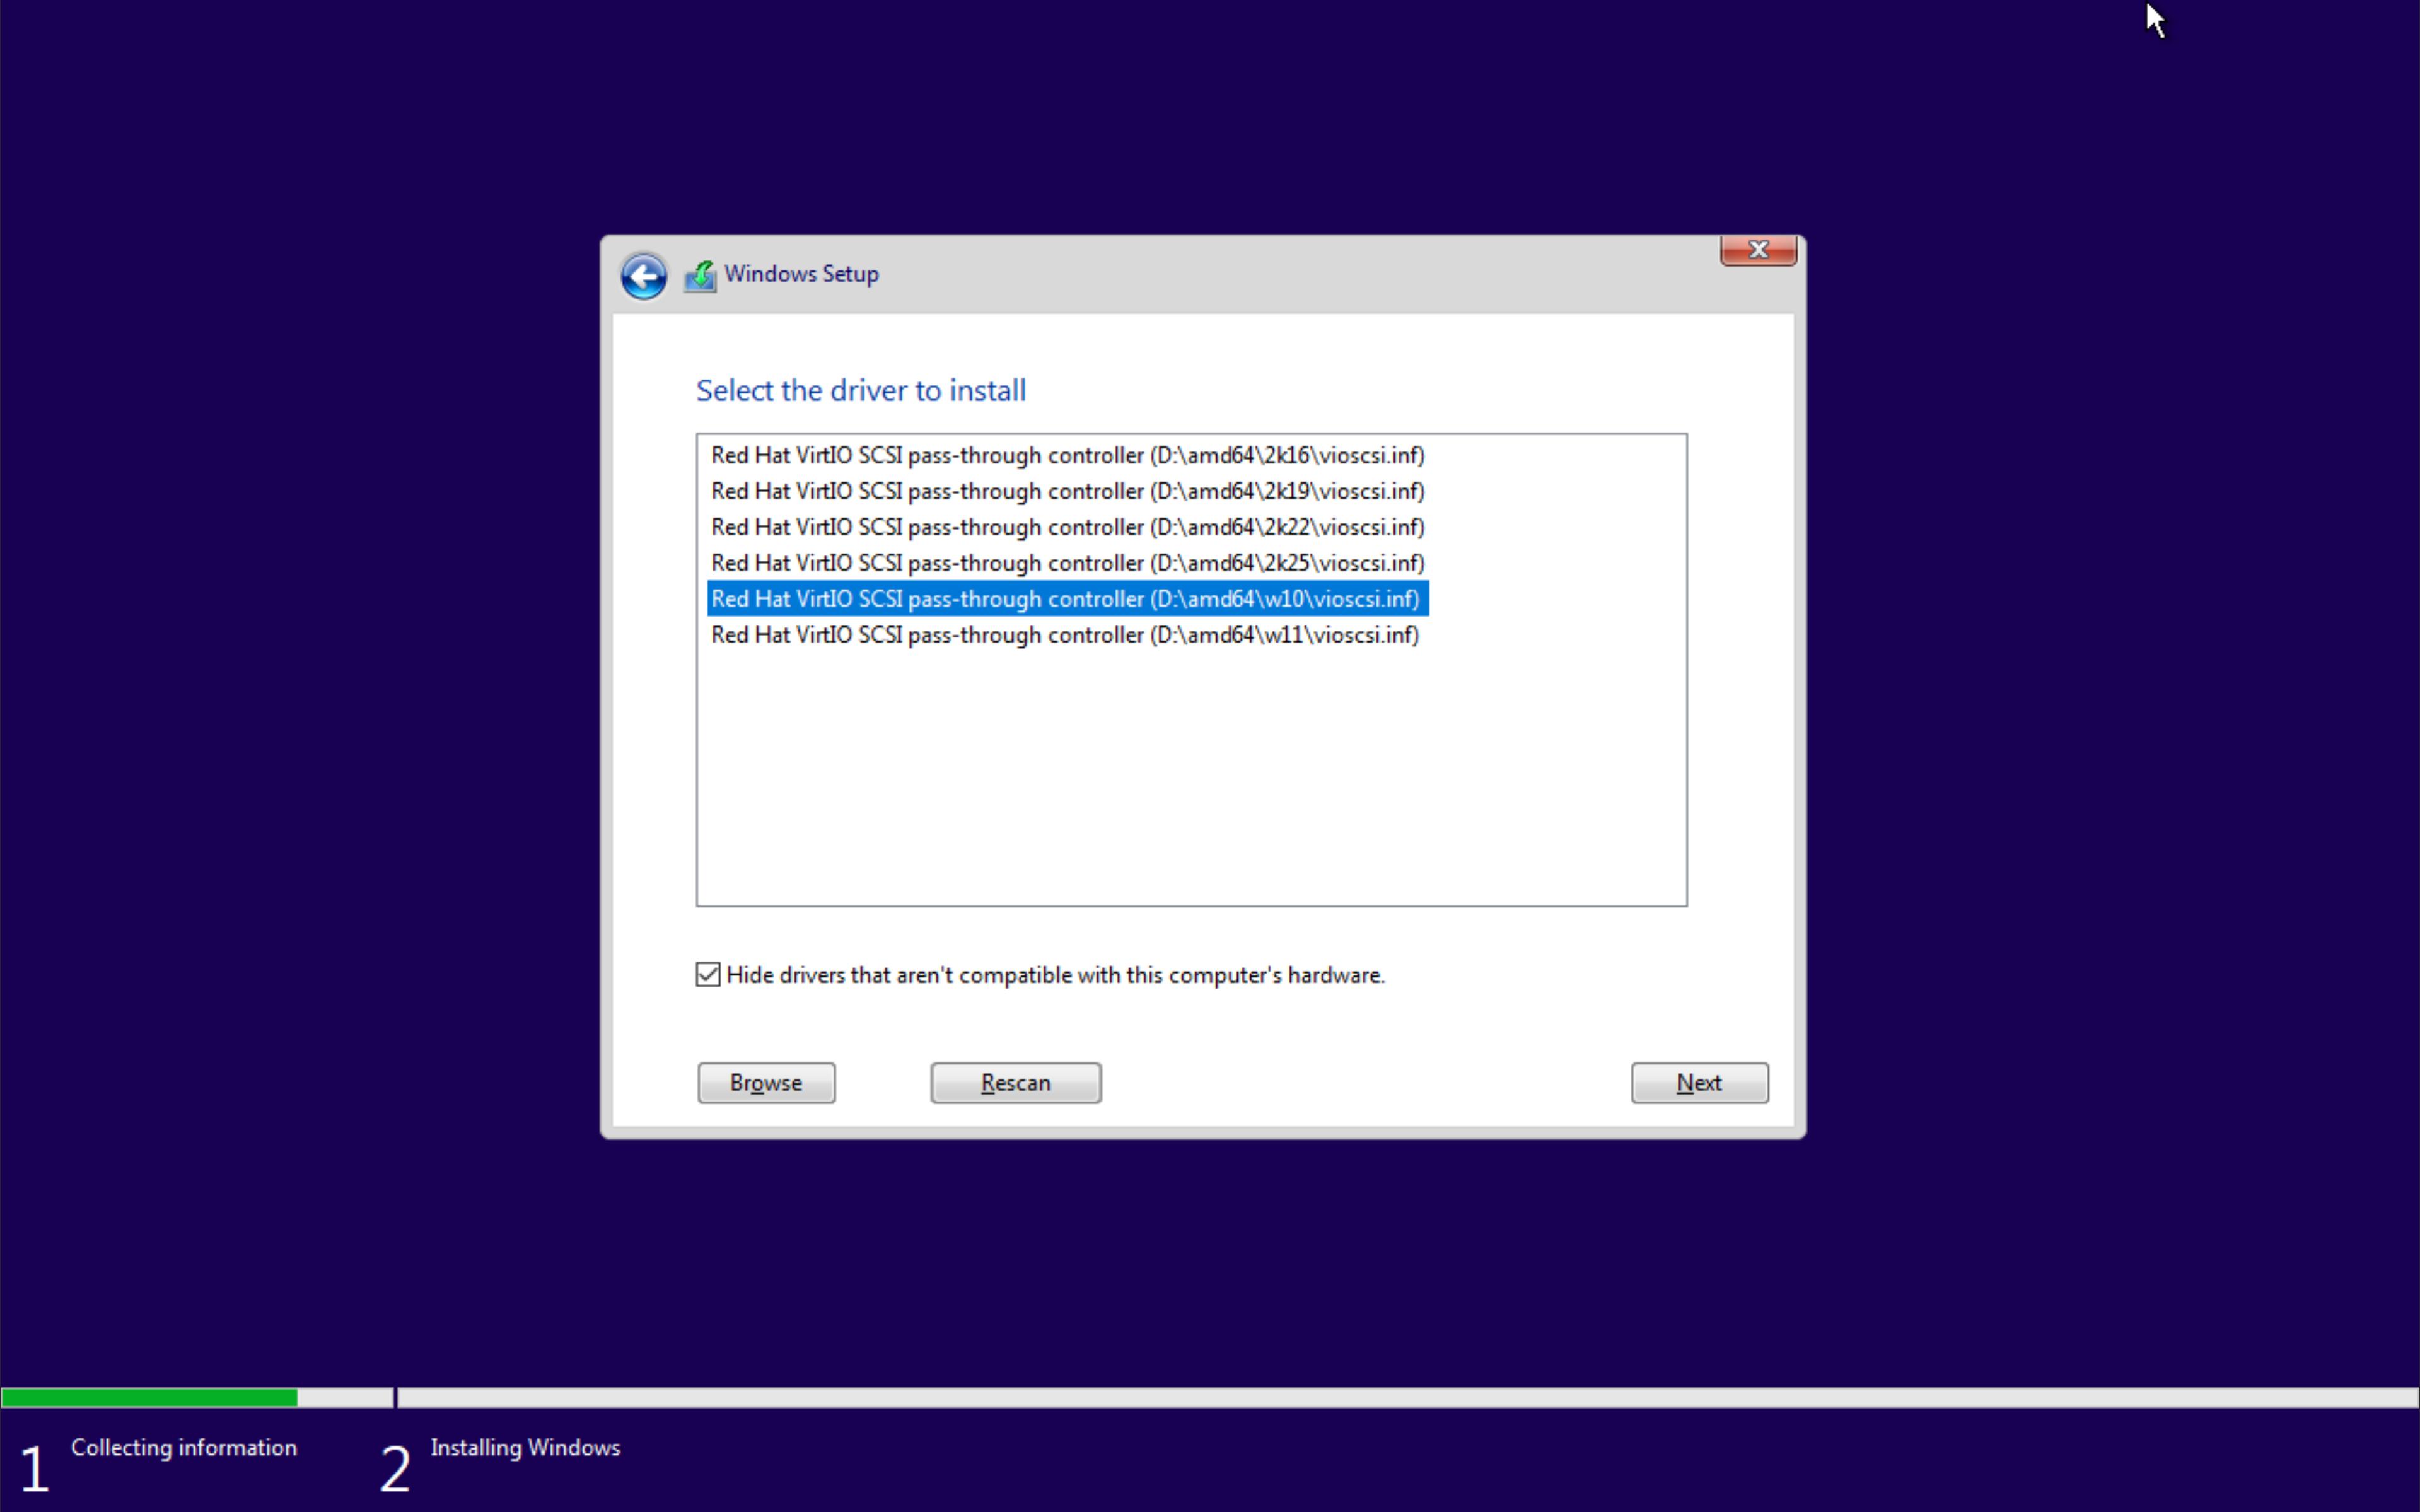
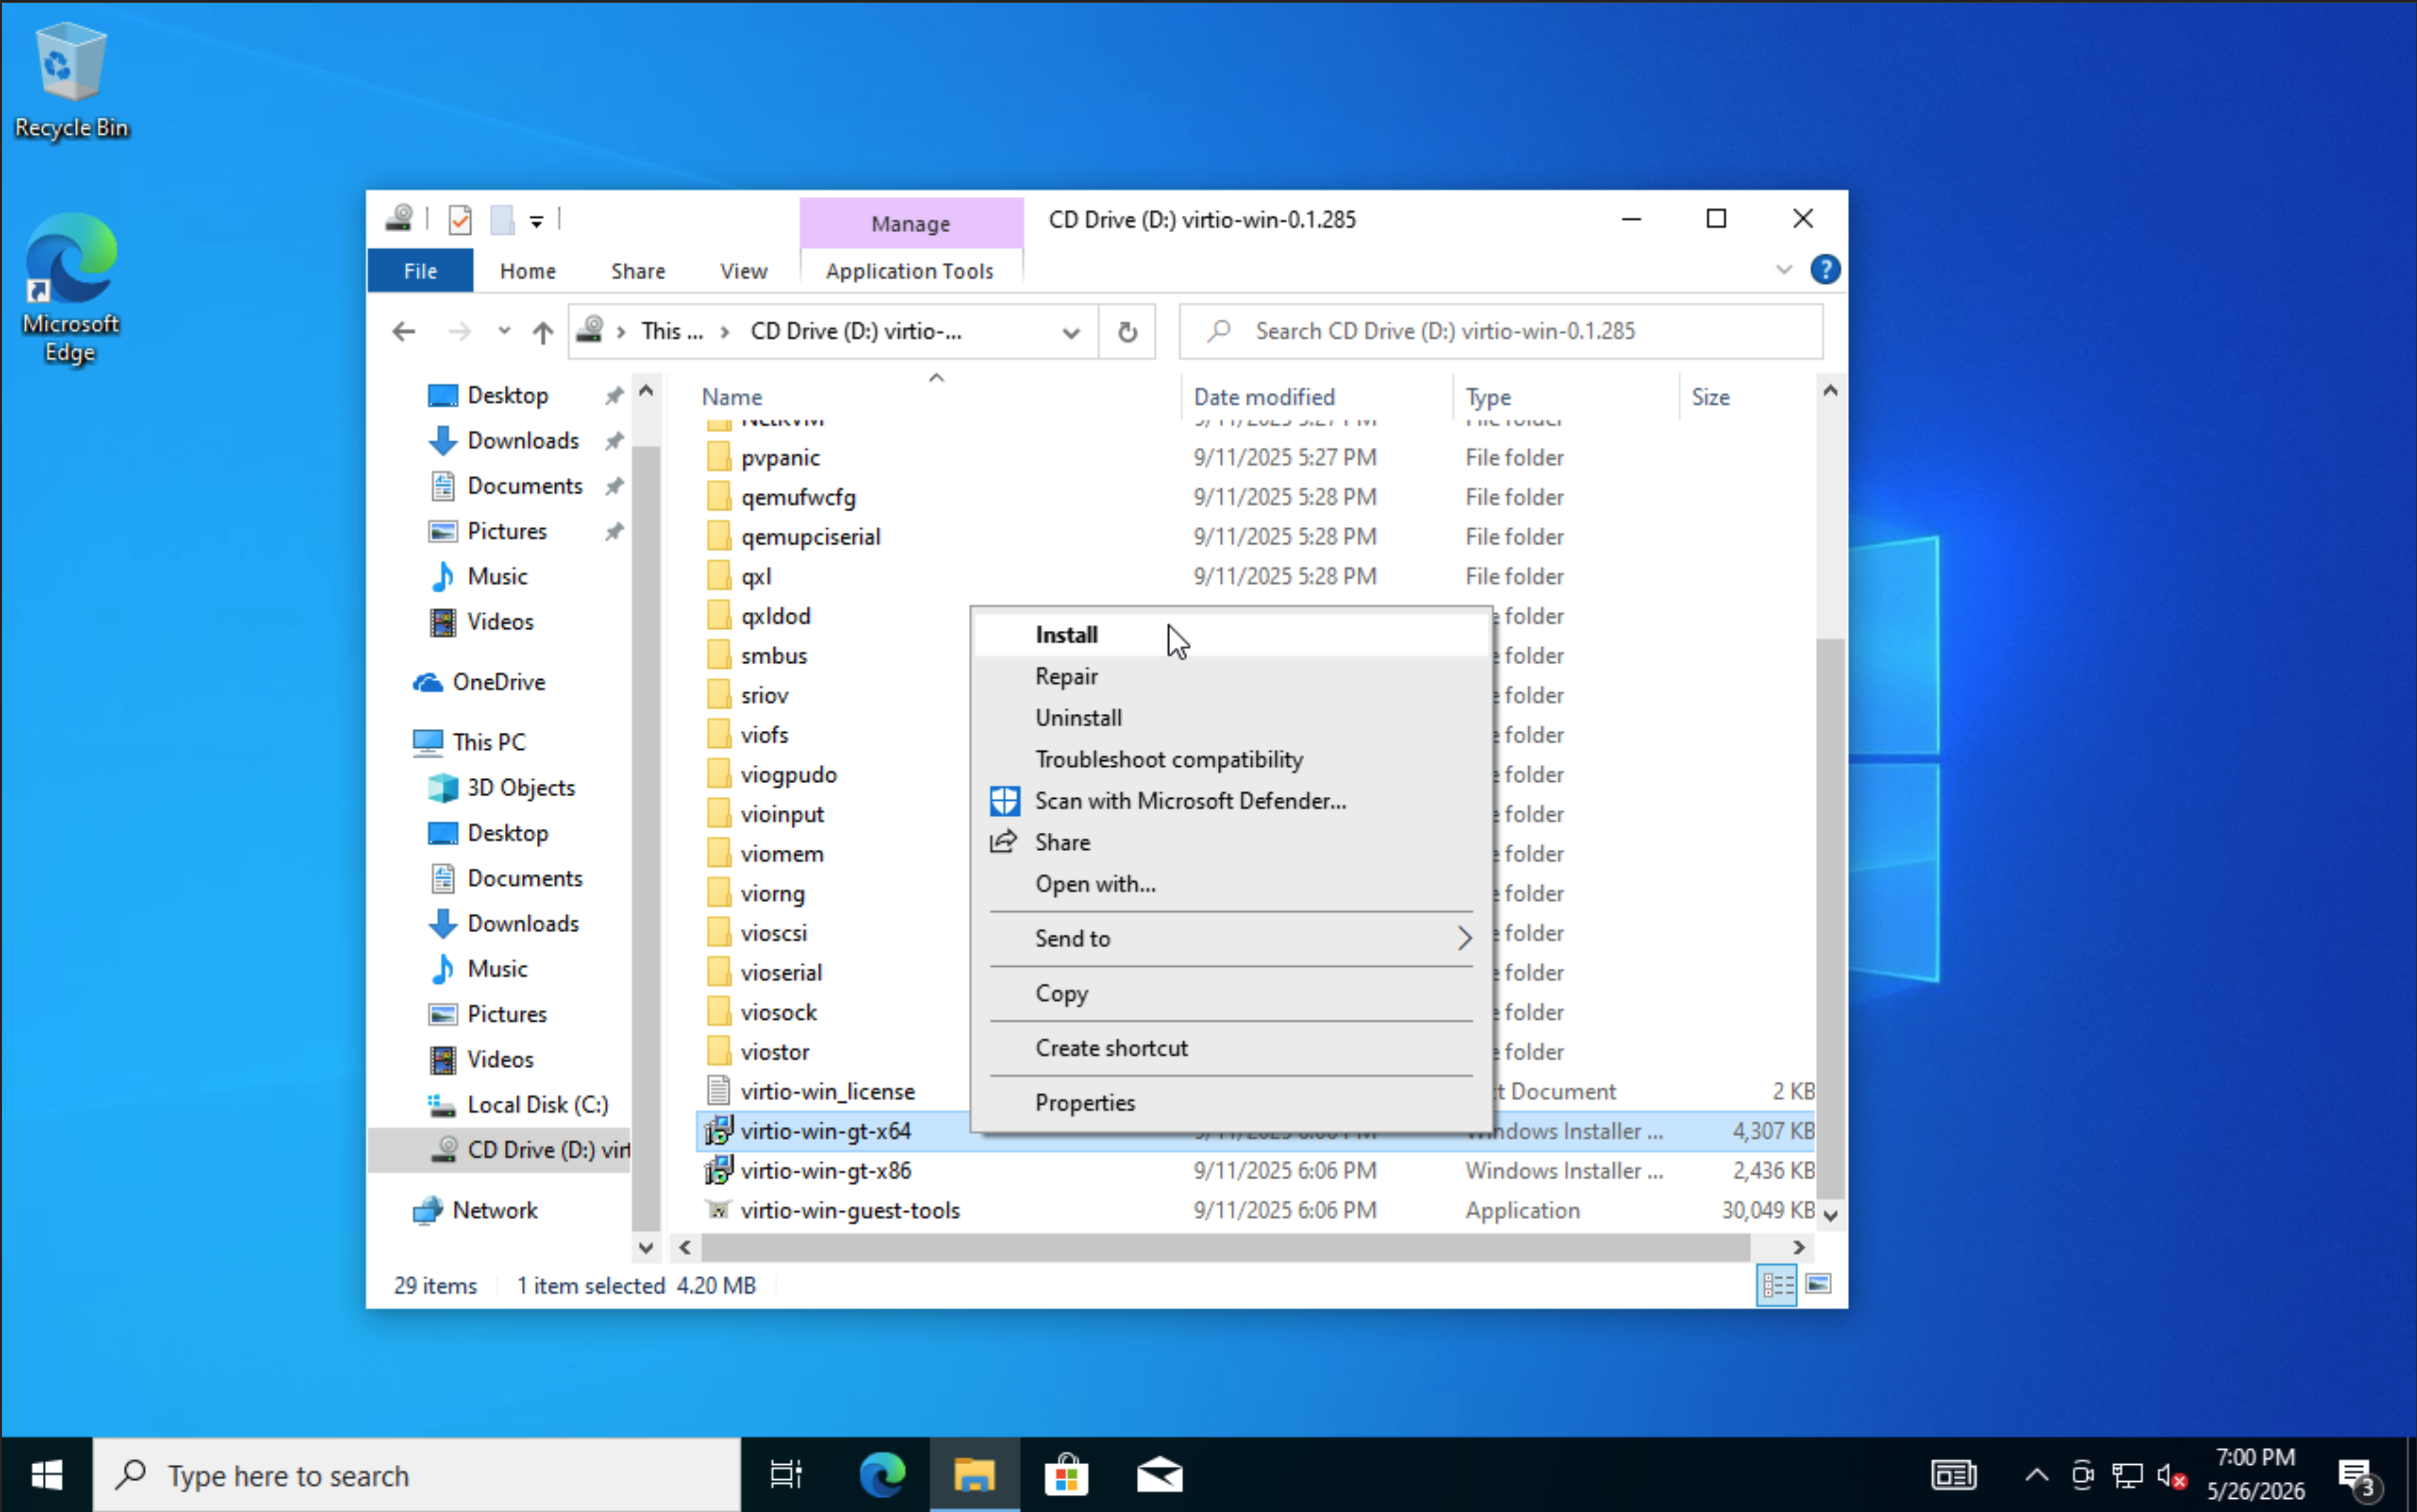
FLARE-VM needs a normal Windows base first. During installation, I used VirtIO drivers so Windows could see the disk and network devices.
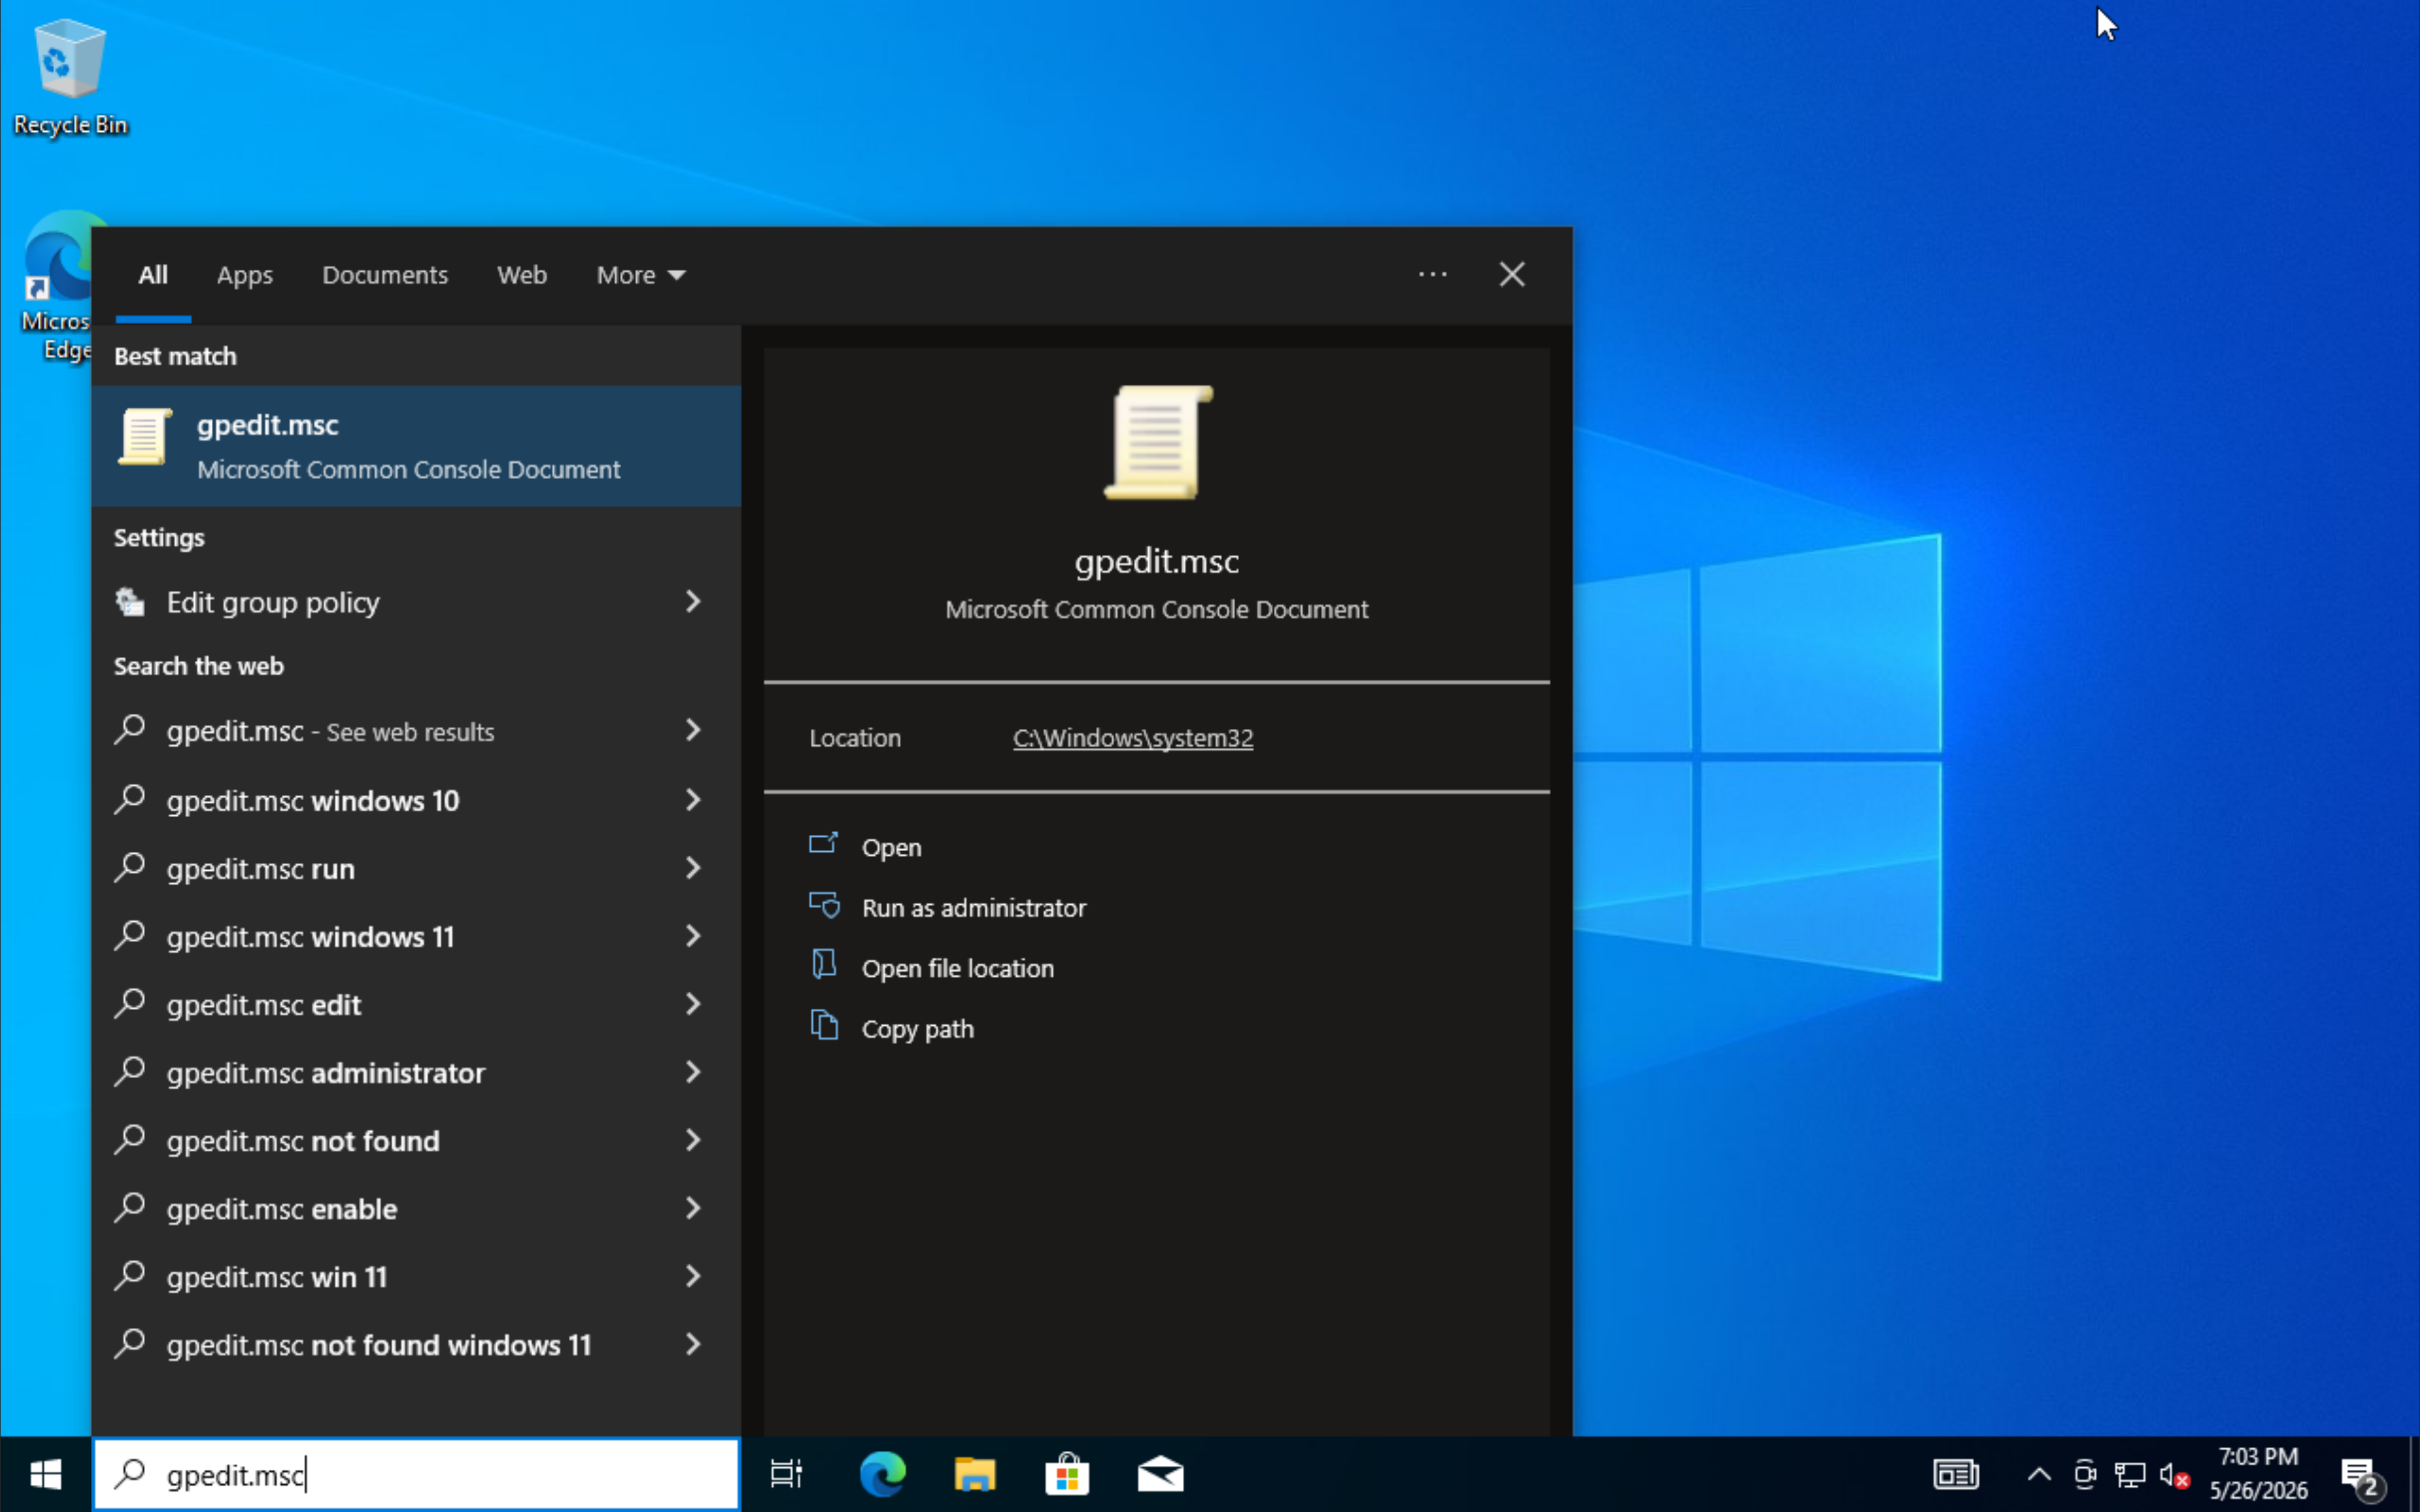
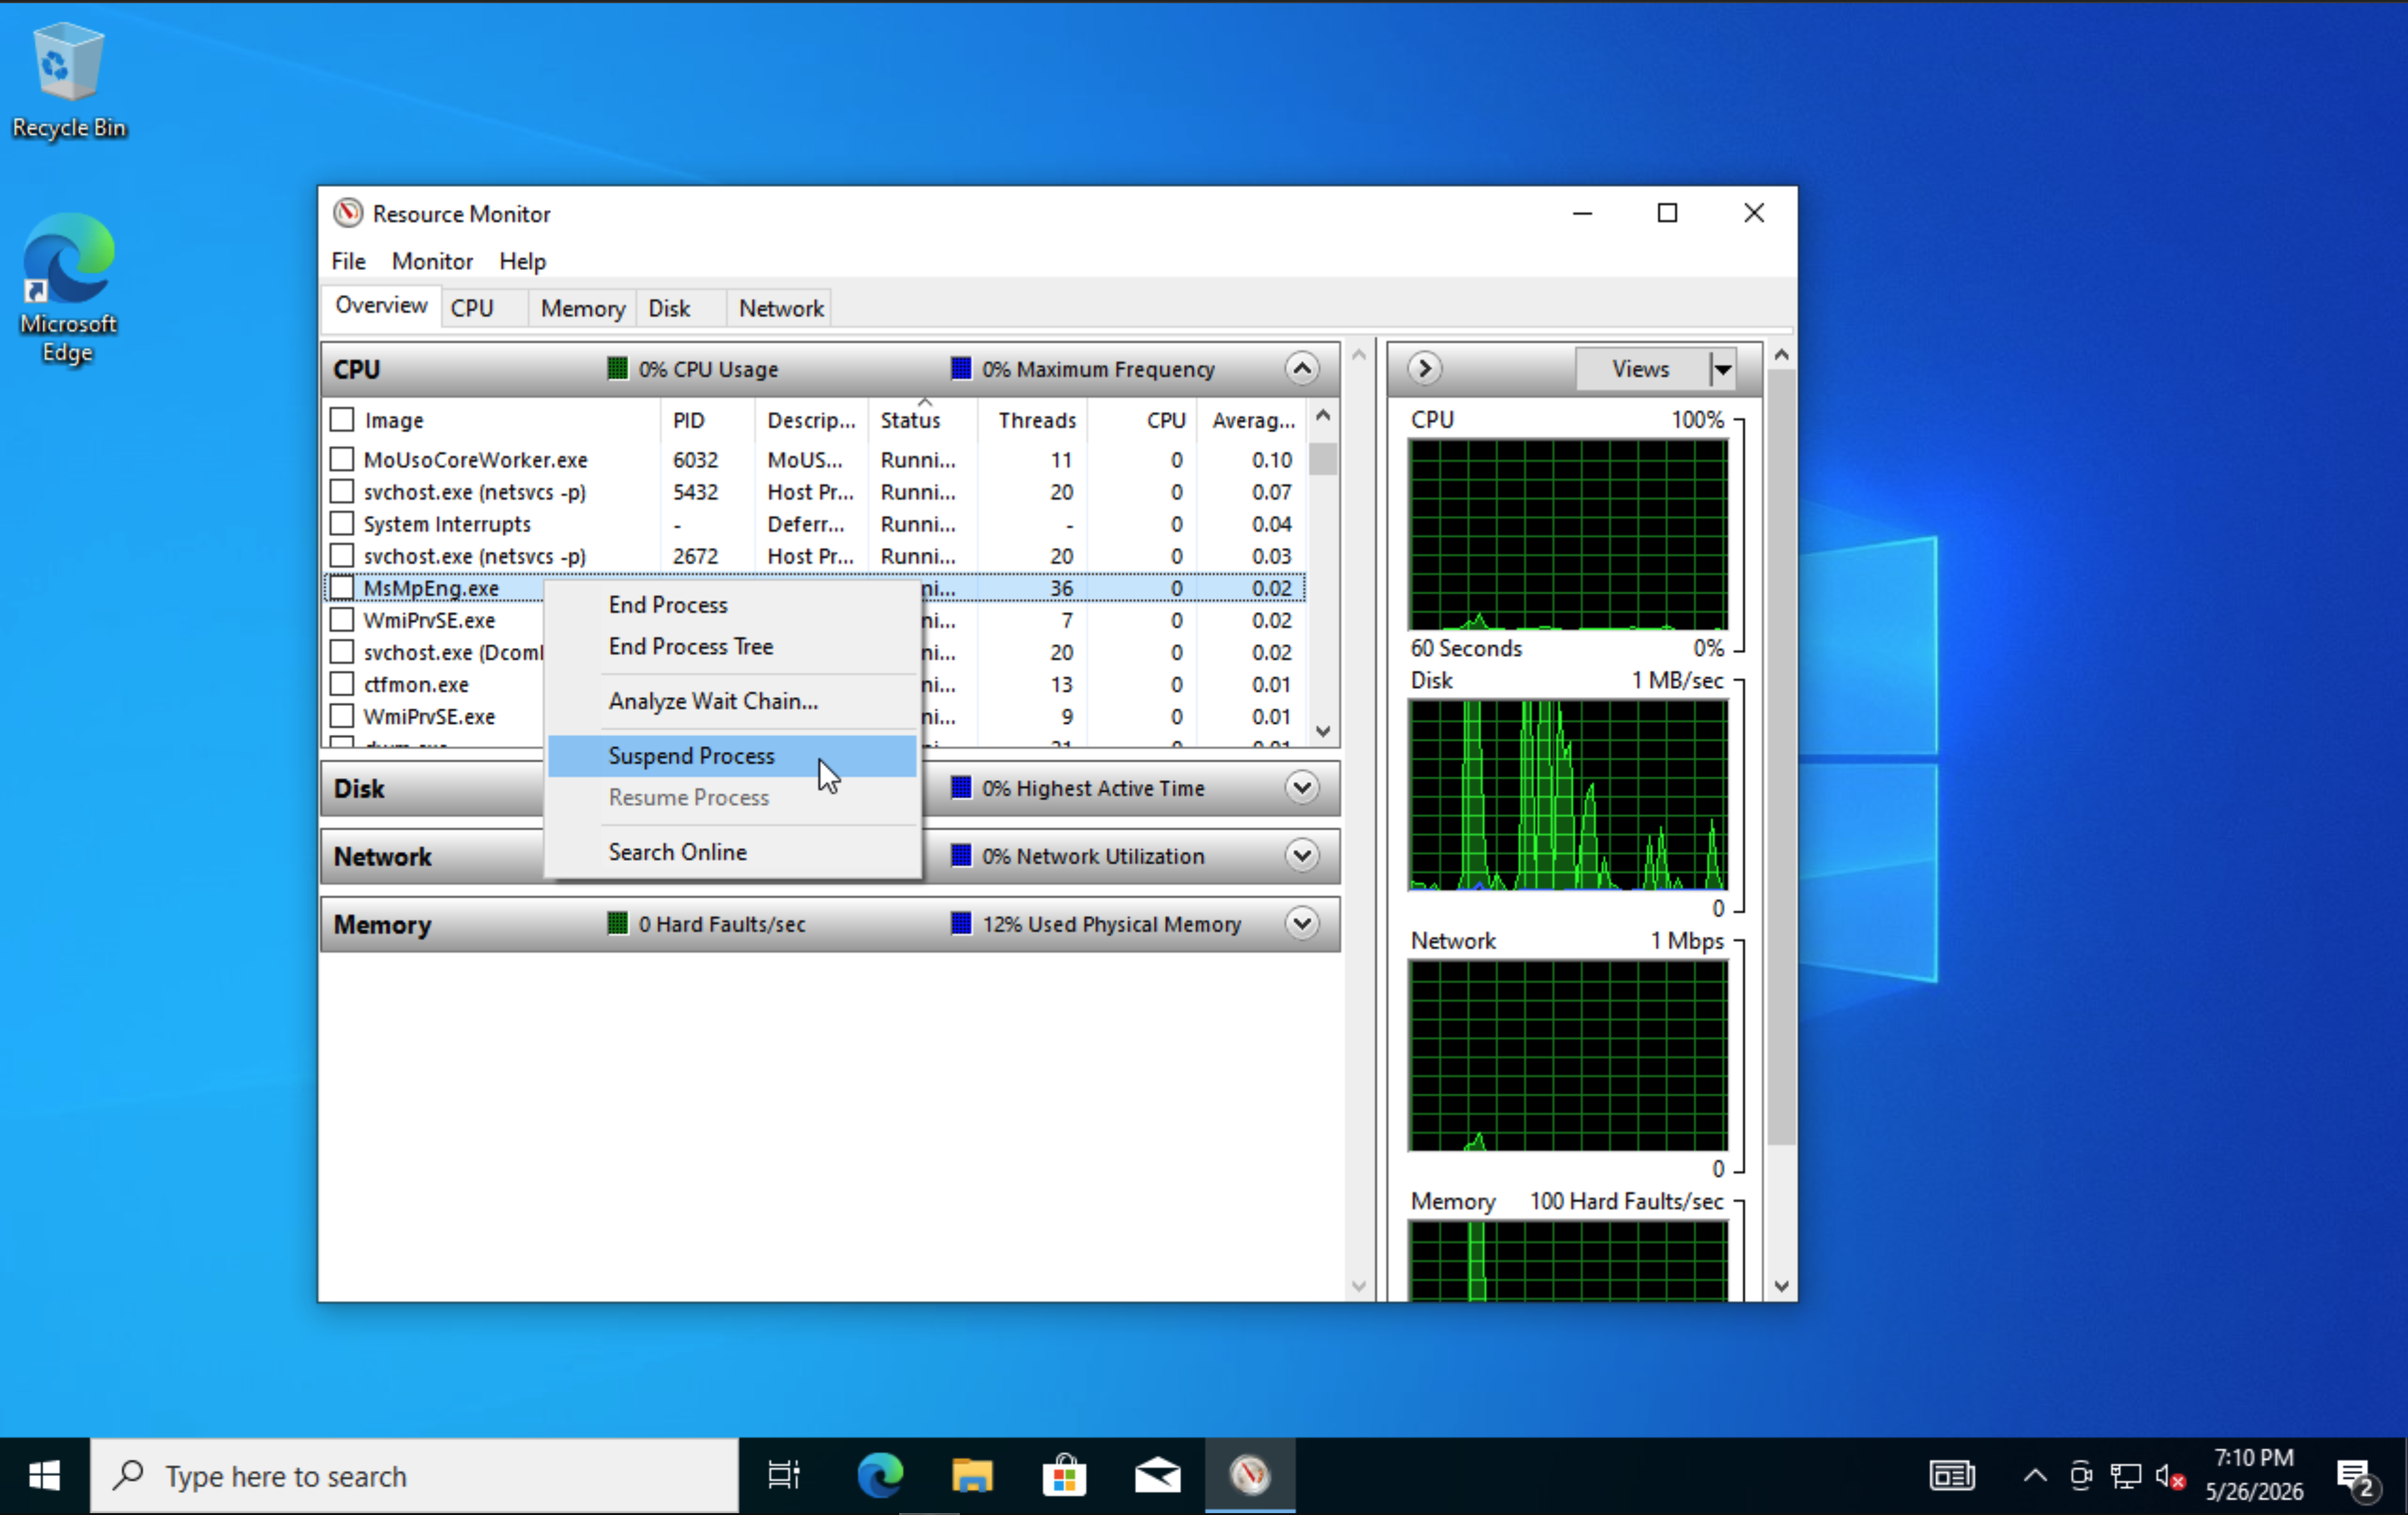
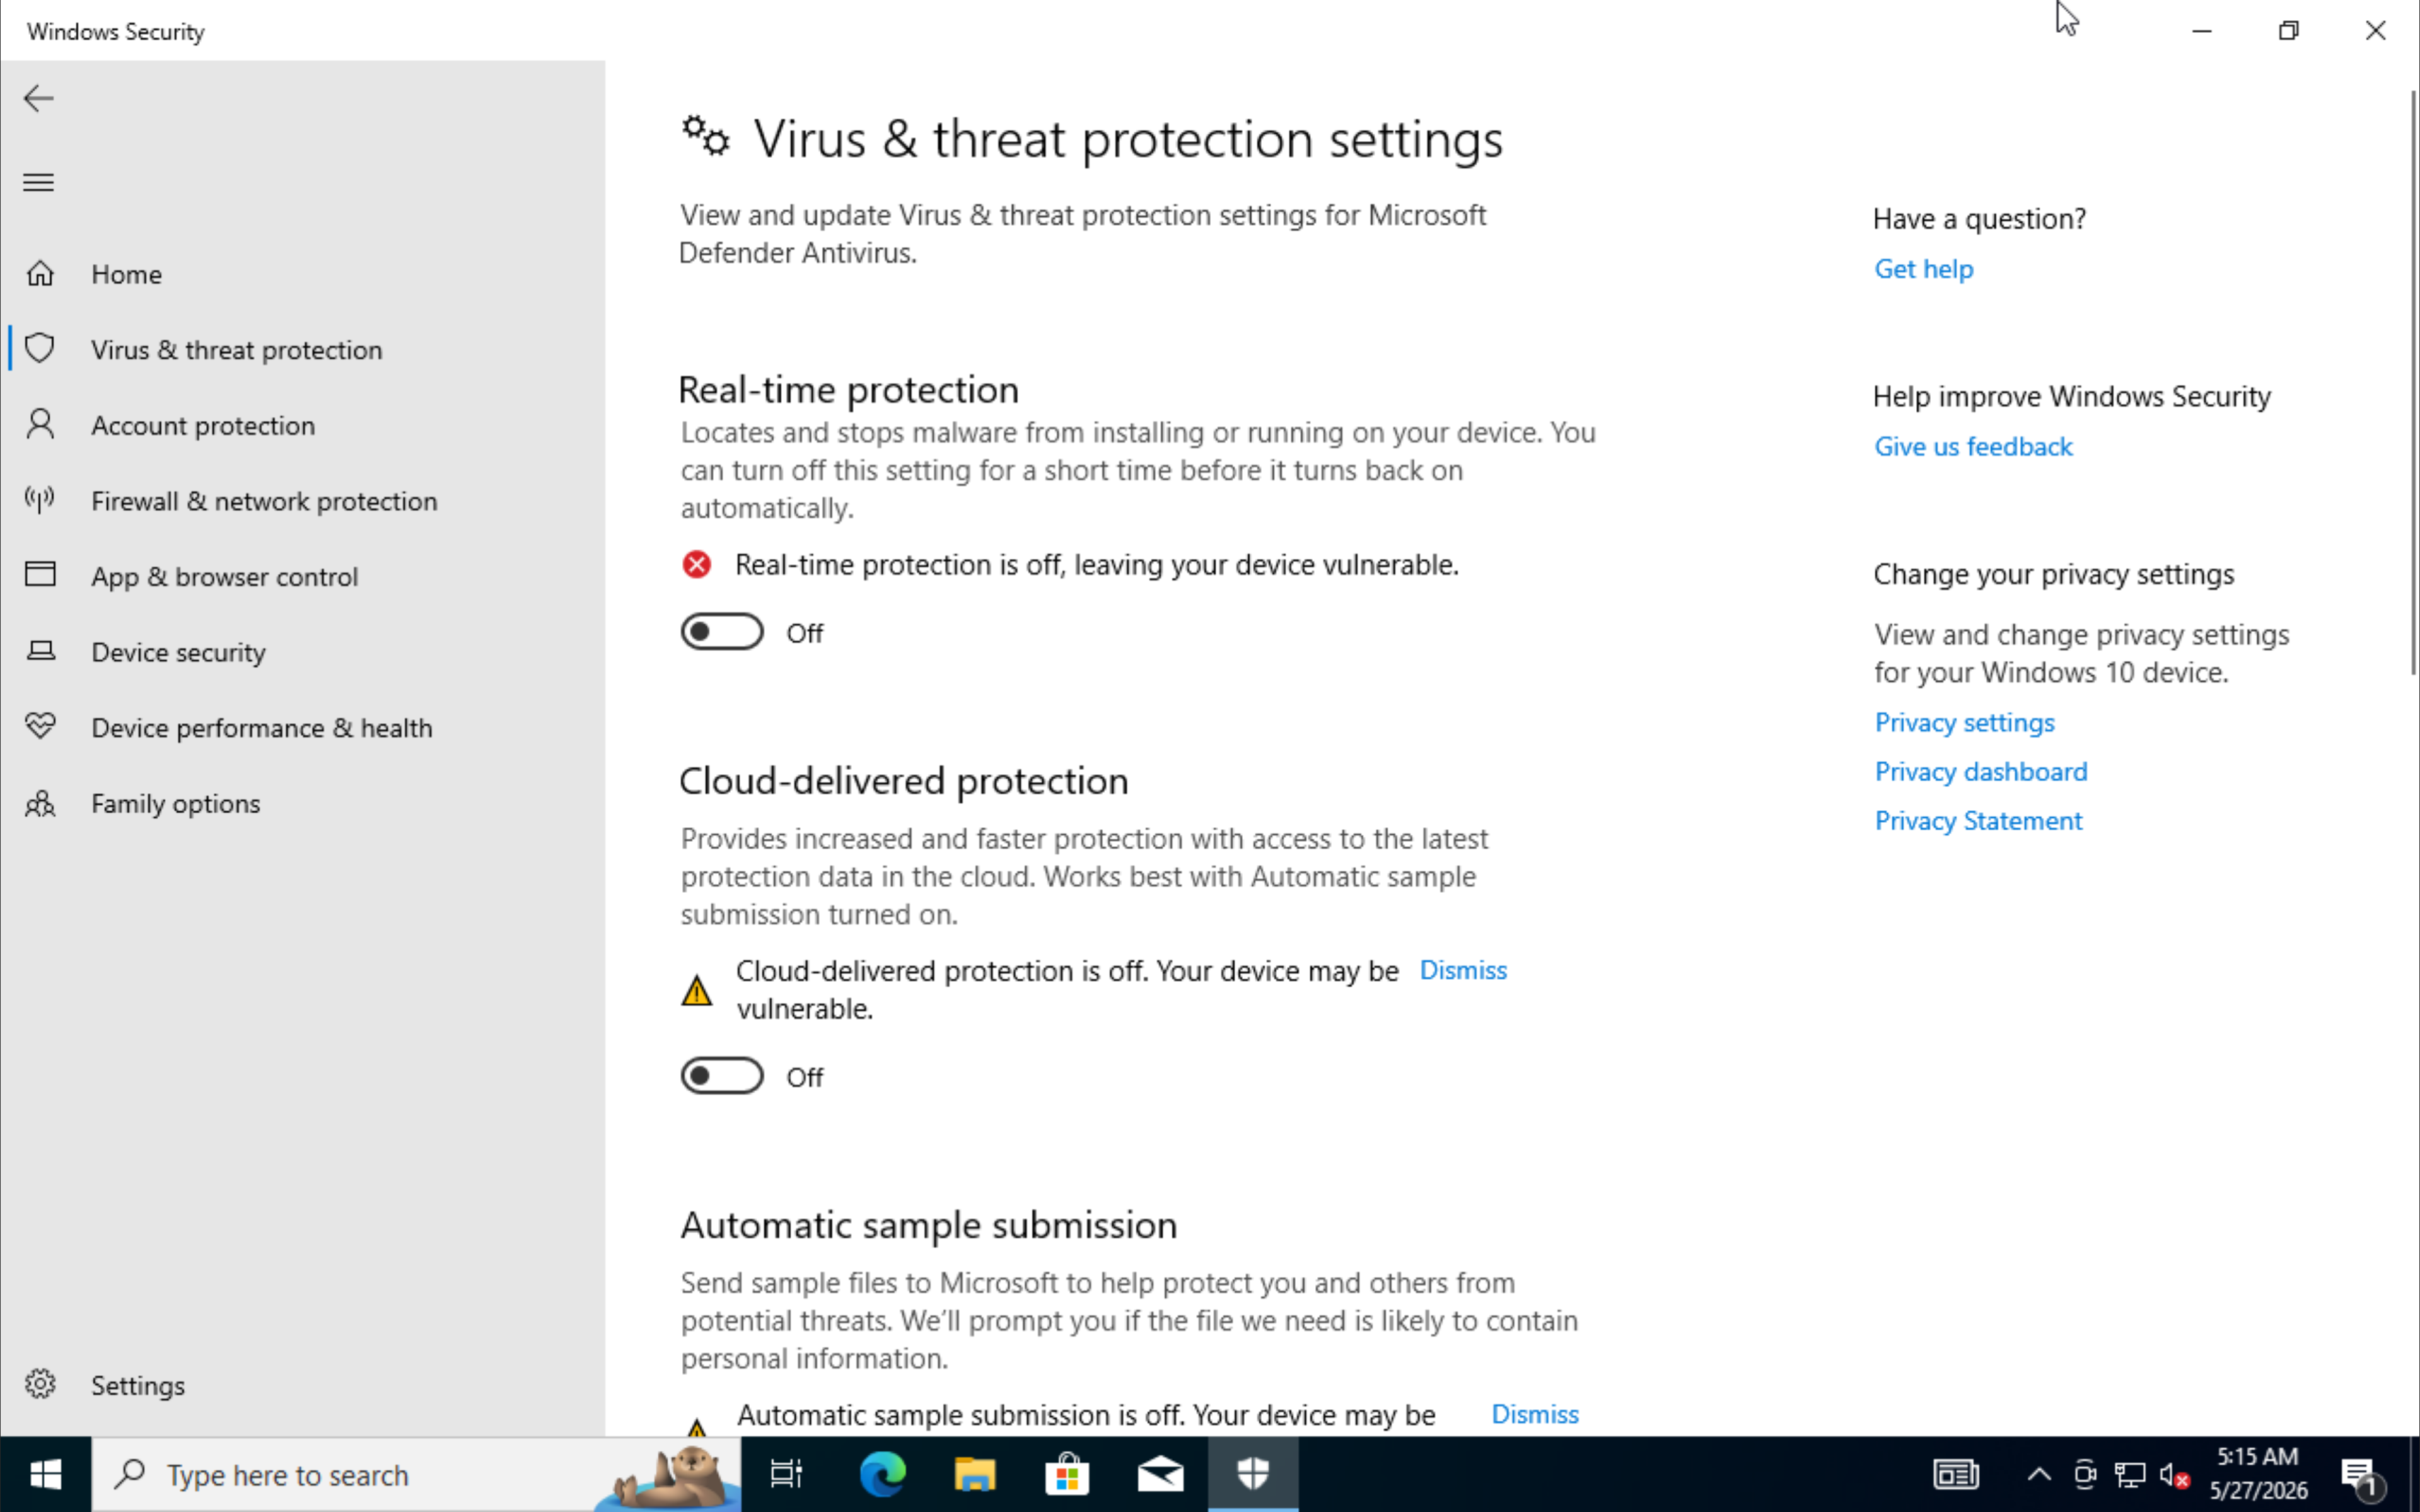
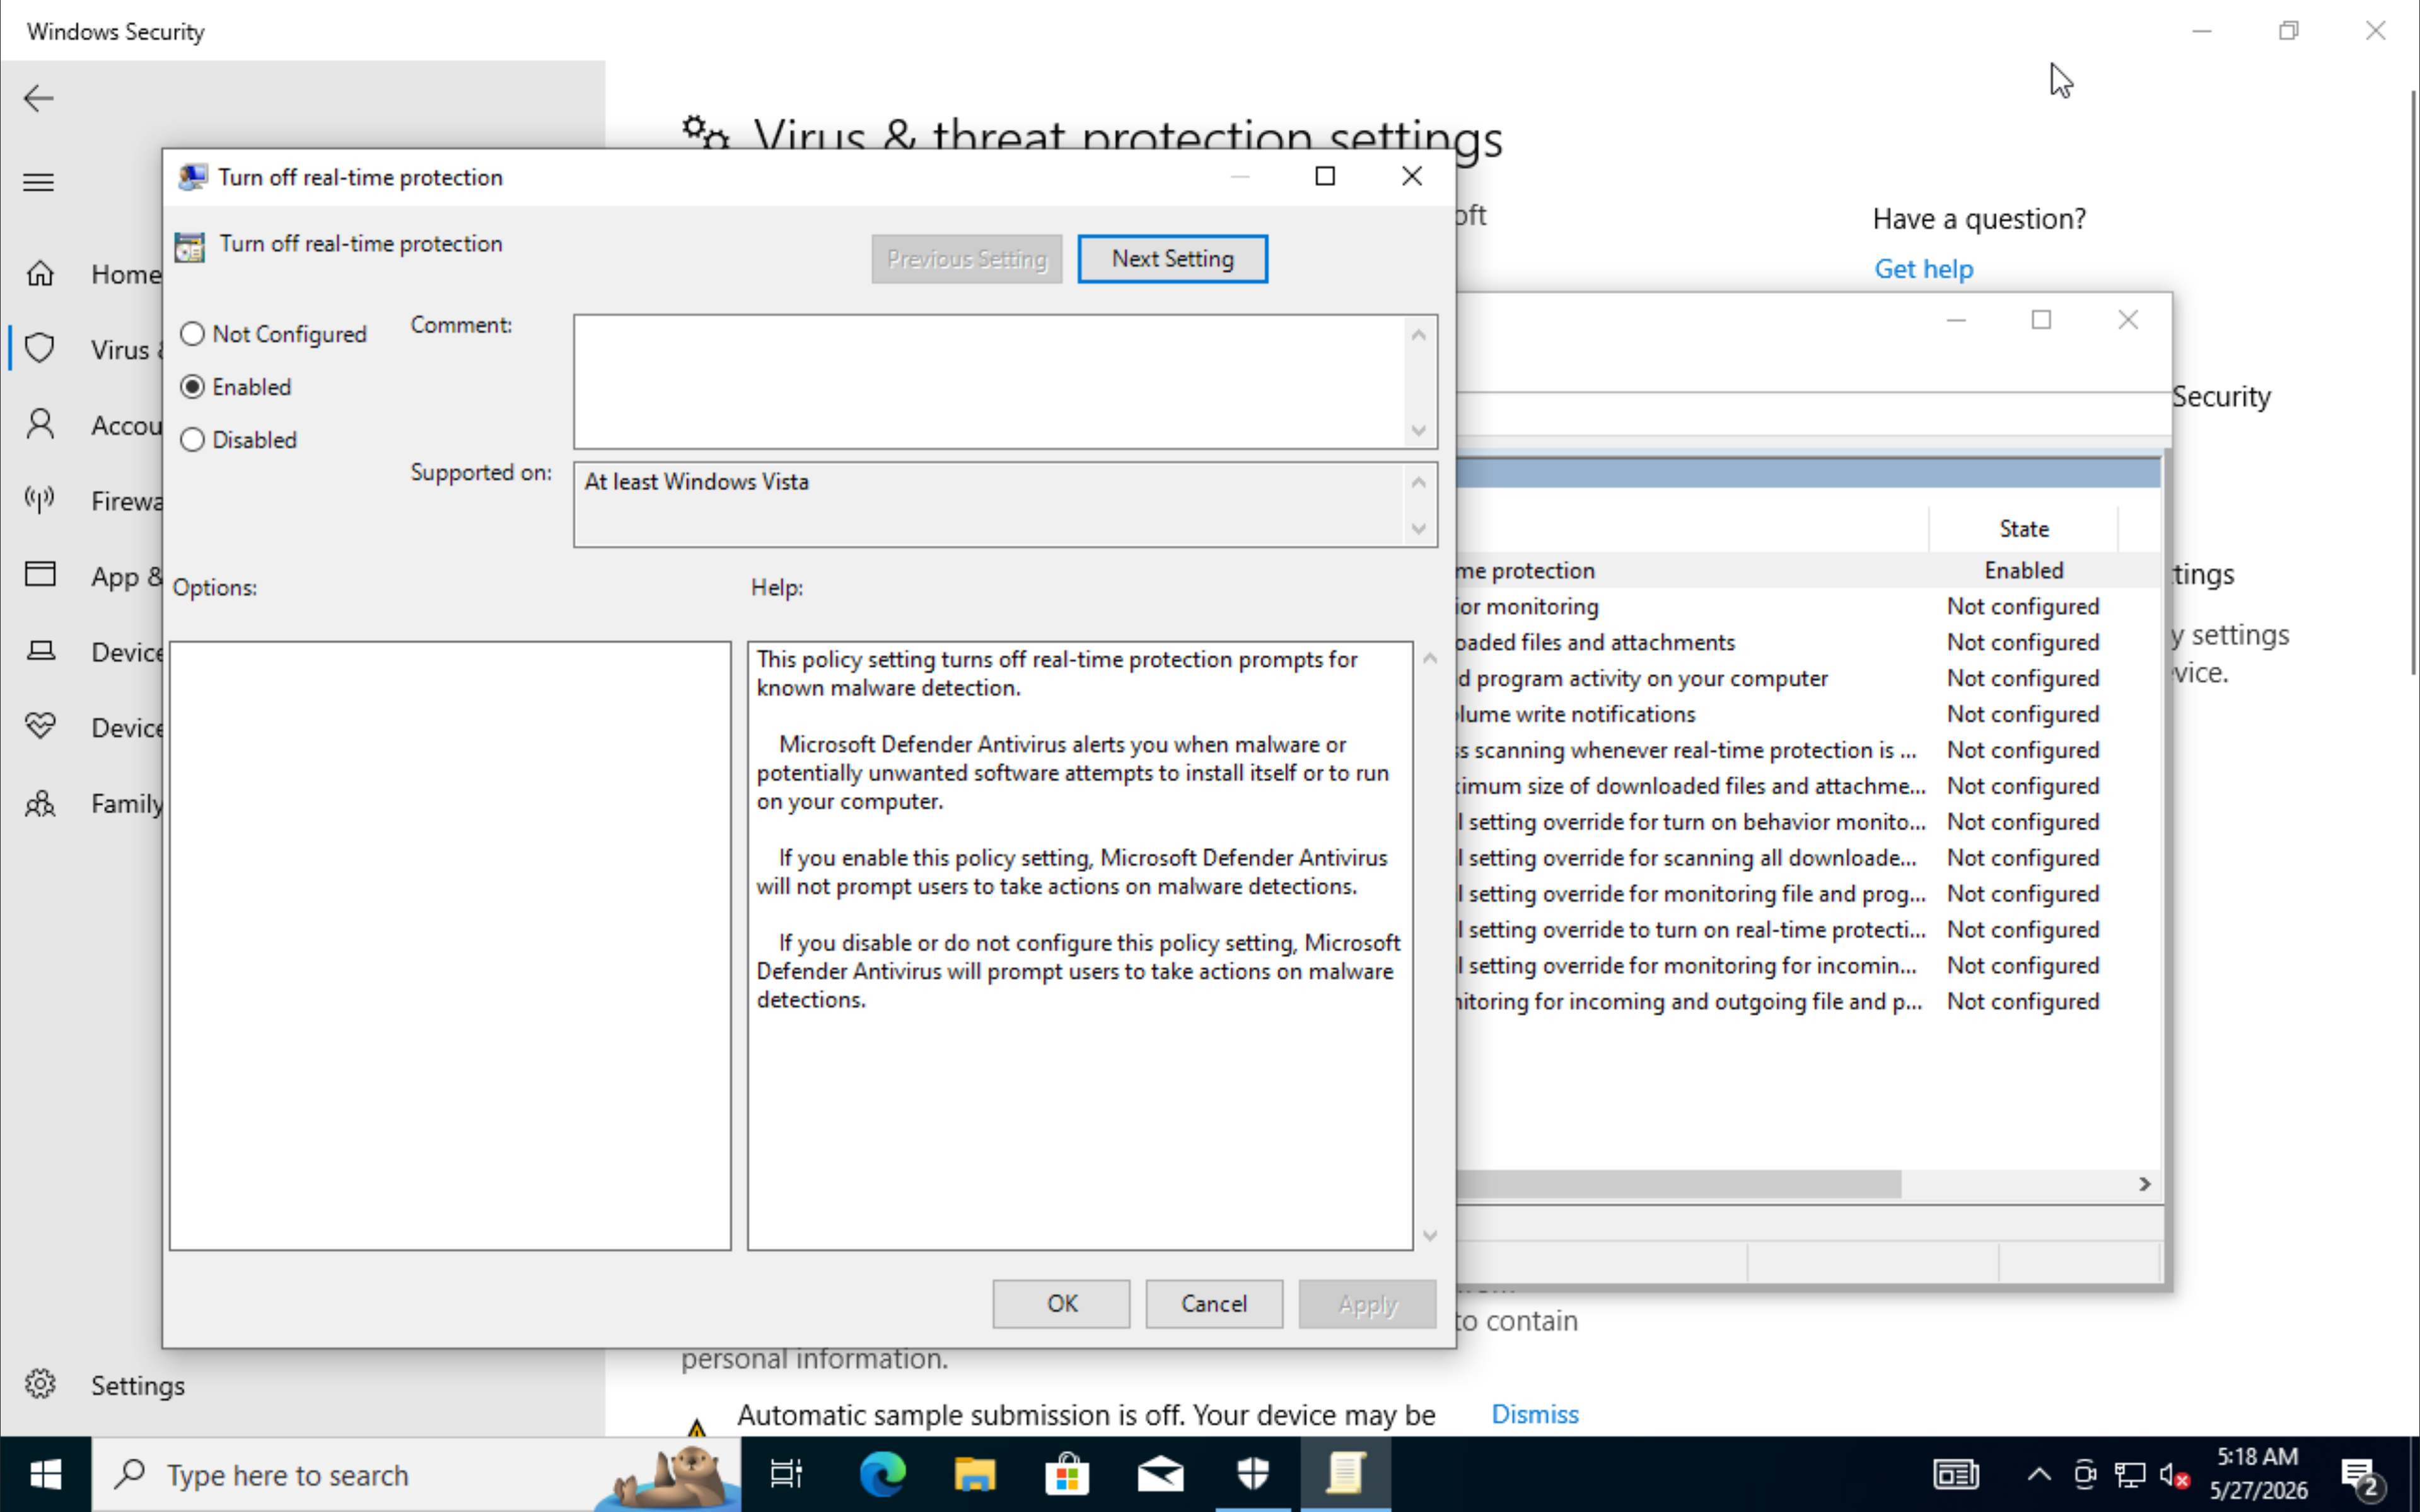
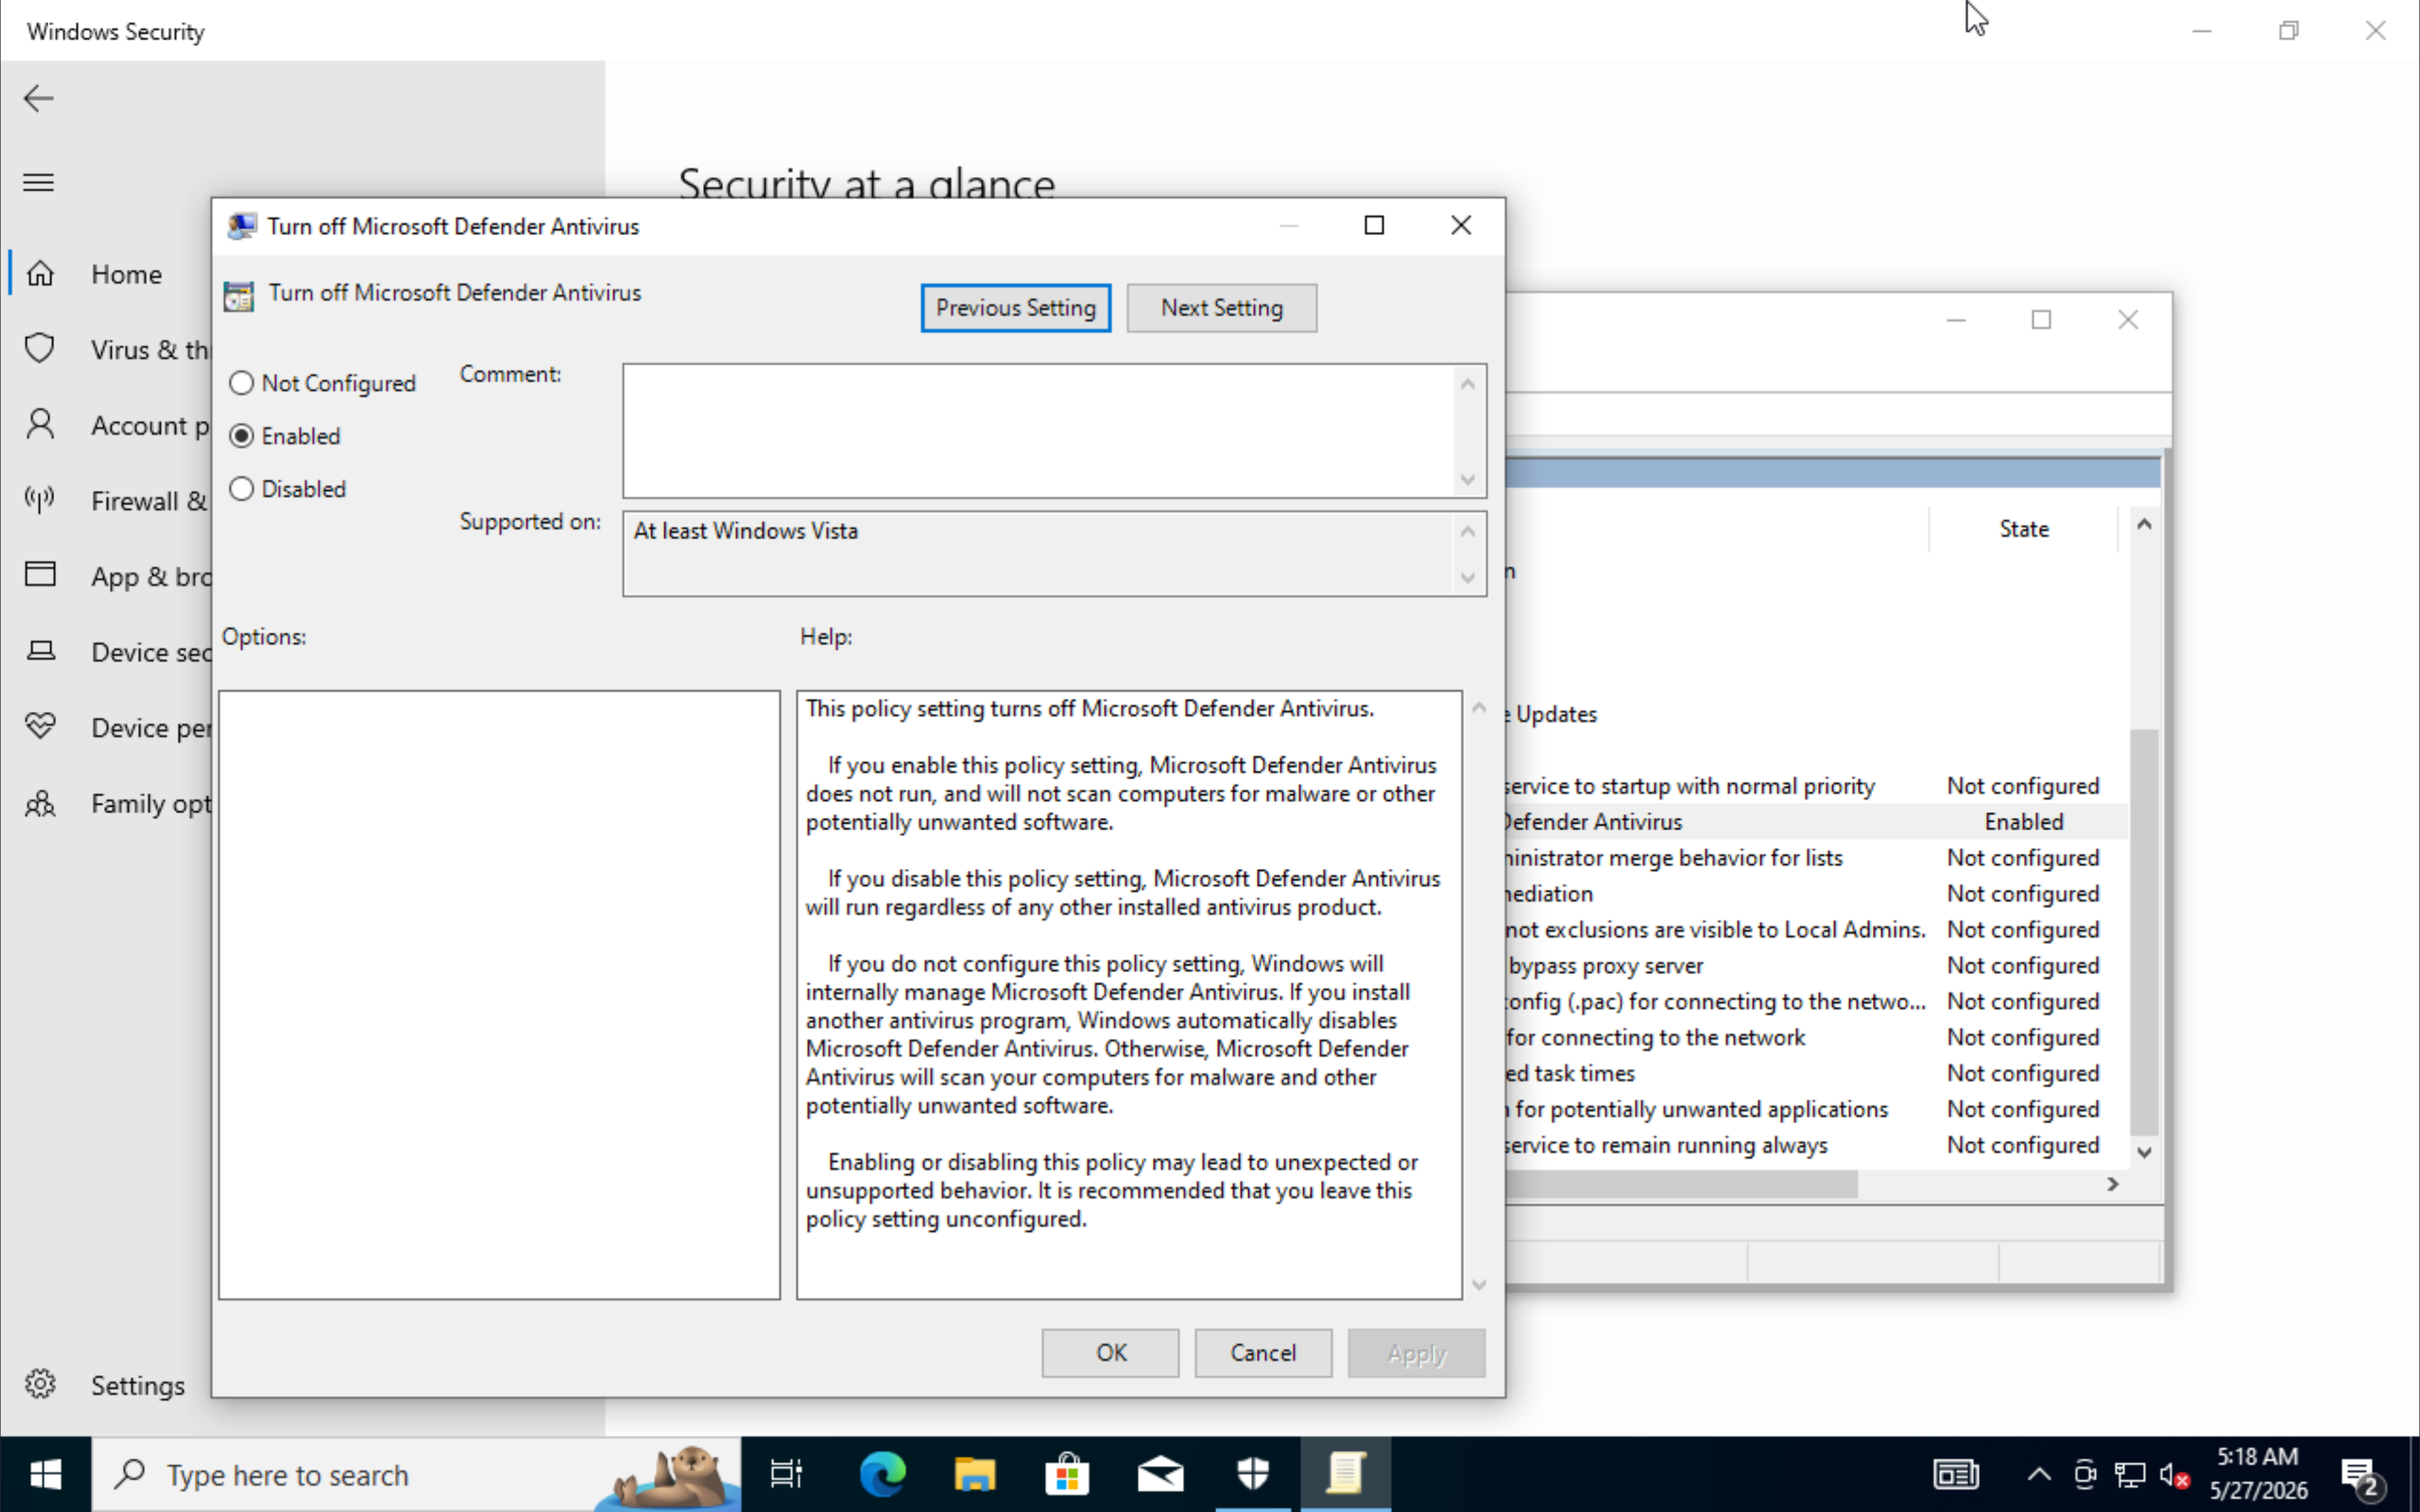
Before the FLARE installer, I disabled update and security features that can break the toolchain install. This is only acceptable because this VM will live behind isolation and snapshots.
Snapshot before install:
clean-windows-before-flare
Install from elevated PowerShell:
cd $env:USERPROFILE\Desktop
(New-Object net.webclient).DownloadFile(
  'https://raw.githubusercontent.com/mandiant/flare-vm/main/install.ps1',
  "$([Environment]::GetFolderPath('Desktop'))\install.ps1"
)
Unblock-File .\install.ps1
Set-ExecutionPolicy Unrestricted -Scope CurrentUser -Force
.\install.ps1
Snapshot after install:
clean-flare-installed
Important distinction: FLARE-VM installation needs internet access. The tools should be installed before final isolation. After that, the VM should be moved into the isolated network or have its outbound path removed before detonation work.
Import REMnux QCOW2
REMnux ships as an appliance image, so I imported the QCOW2 into Proxmox.
Download with resume support:
mkdir -p /var/lib/vz/images/remnux
cd /var/lib/vz/images/remnux
curl -L -C - --progress-bar -o remnux.qcow2 "<REMNUX_QCOW2_URL>"
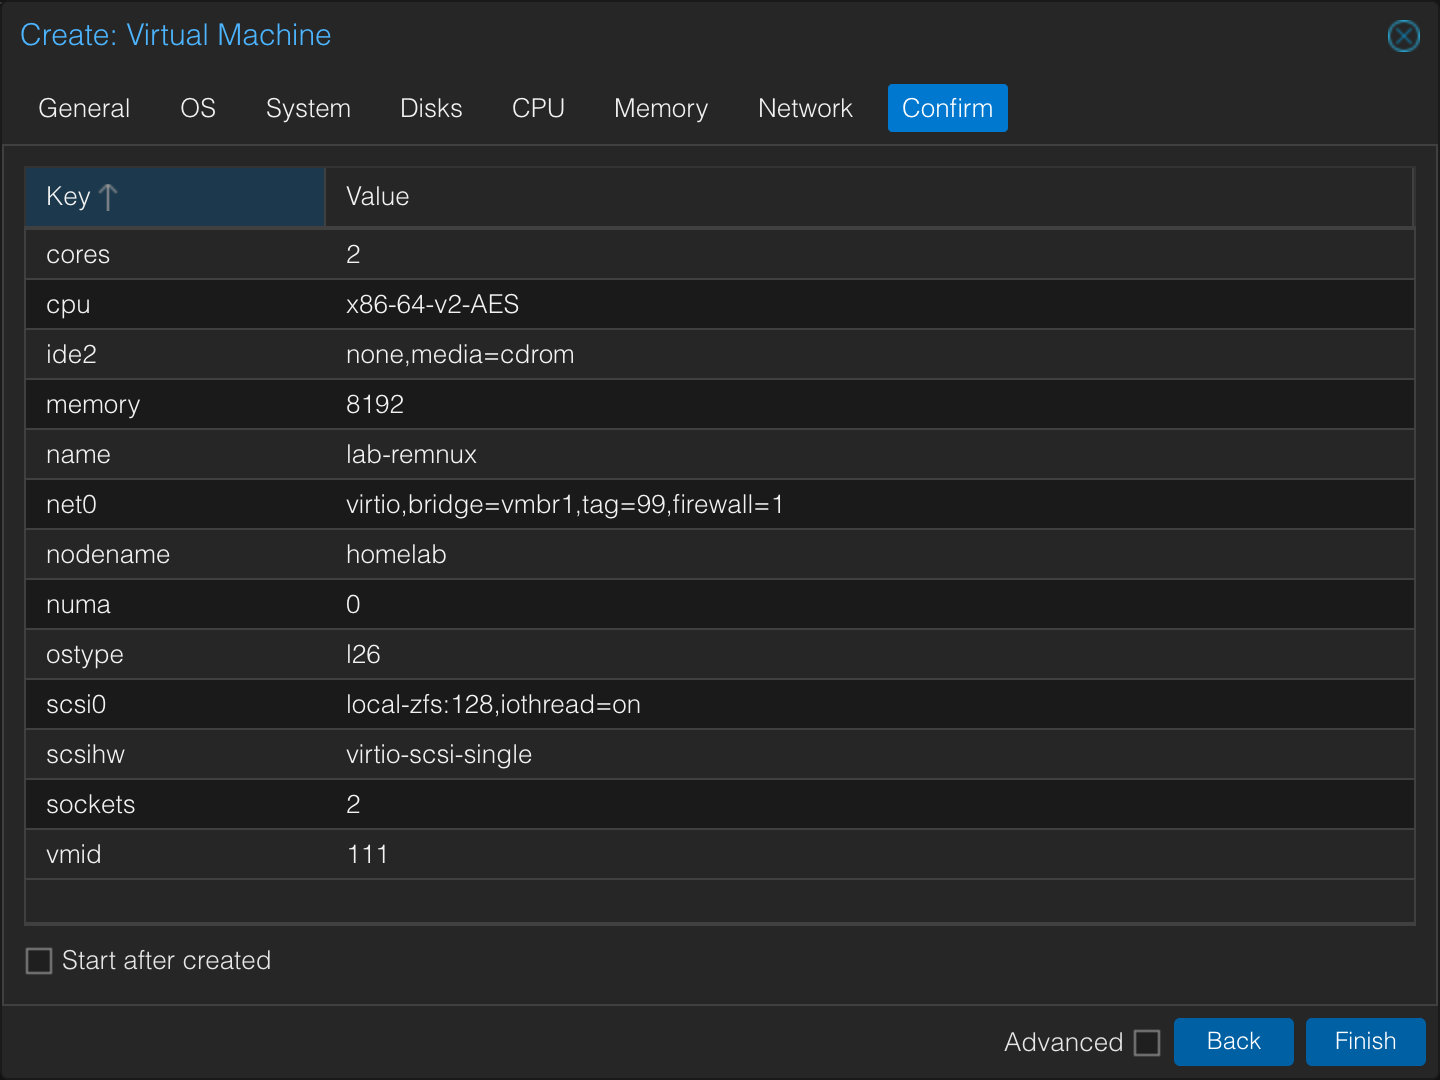
Before importing, create an empty VM with the same ID:
VM ID:   111
Name:    malware-remnux
Disk:    empty placeholder / imported disk will become boot disk
This matters because qm importdisk imports into an existing VM. Without /etc/pve/qemu-server/111.conf, there is no VM config object for the disk metadata.
qm importdisk 111 /var/lib/vz/images/remnux/remnux.qcow2 local-zfs
qm config 111
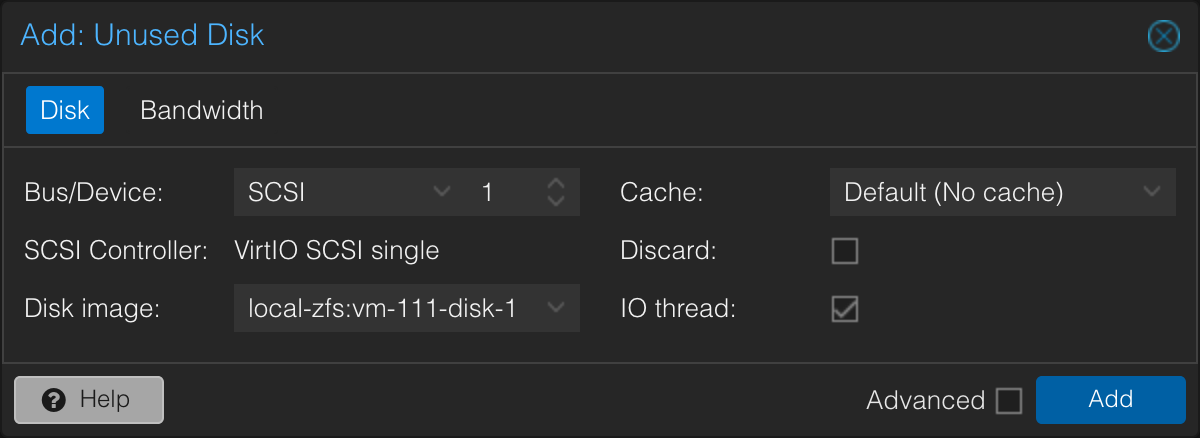
Attach the imported disk and set boot order:
qm set 111 --scsihw virtio-scsi-pci
qm set 111 --scsi1 local-zfs:vm-111-disk-1
qm set 111 --boot order=scsi1
Planned INetSim Configuration
REMnux final IP:
IP:       10.10.99.10
Gateway:  empty
DNS:      127.0.0.1 or 10.10.99.10
Core INetSim settings:
service_bind_address    10.10.99.10
dns_default_ip          10.10.99.10
Restart or foreground test:
sudo systemctl restart inetsim
# or
sudo inetsim
Snapshot Discipline
Snapshots are an operational safety rule in this segment:
clean-windows-before-flare
clean-flare-installed
clean-remnux-ready
snapshot before running a sample
revert to clean state after analysis
For malware analysis, “I will clean it later” is not a reliable process. Reverting to a known clean state is the process.
Problems I Hit
REMnux did not boot at first. The VM dropped into SeaBIOS/iPXE because it was trying CD-ROM/network boot instead of the imported disk. Attaching the unused disk and setting the boot order fixed it.
qm importdisk needs an existing VM. The empty VM is not wasted work; it creates the VM ID and /etc/pve/qemu-server/<id>.conf that Proxmox needs.
Security tooling can be counterproductive in detonation networks. I deliberately do not install Wazuh here because an agent creates a path out and changes the sample environment.
What I Learned
Malware-analysis isolation should be structural, not only rule-based. An internal bridge with no uplink is easier to trust than a firewall rule that says “block everything” but still depends on perfect configuration.
I also learned that appliance imports in Proxmox are config-first operations: VM object first, disk import second, attachment and boot order third.
Validation Evidence
FLARE to REMnux checks:
ping 10.10.99.10
nslookup microsoft.com
curl http://example.com
ping 8.8.8.8
Expected final behavior:
10.10.99.10 reachable
DNS/HTTP answered by REMnux/INetSim
8.8.8.8 unreachable
Wazuh/domain VLANs unreachable
REMnux checks:
ip route
ping 10.10.99.20
ping 10.10.10.99
What This Enables Next
This segment gives me a place for controlled sample analysis, reverse engineering, and fake-internet behavior capture. The remaining work is final INetSim validation and strict snapshot discipline during actual samples.
Quick Reference
Unblock-File .\install.ps1
Set-ExecutionPolicy Unrestricted -Scope CurrentUser -Force
.\install.ps1
qm importdisk 111 /var/lib/vz/images/remnux/remnux.qcow2 local-zfs
qm set 111 --scsihw virtio-scsi-pci
qm set 111 --scsi1 local-zfs:vm-111-disk-1
qm set 111 --boot order=scsi1